[vc_row padding_setting=”1″ desktop_padding=”no-padding-tb” ipad_padding=”sm-no-padding-top” mobile_padding=”xs-no-padding-top”][vc_column][hcode_simple_image hcode_image=”33236″][vc_column_text]How to make a Monster Rangers Sash
By Megan Joliff
Average Measurements:
Teen : 4″ wide x 62″ long
Standard Adult : 4″ wide x 72″ long
Large Adult (6’1″-6’4 : 4″wide x 80″ long
XL Adult (6’5″+) : 4″ wide x 82″/88″ long
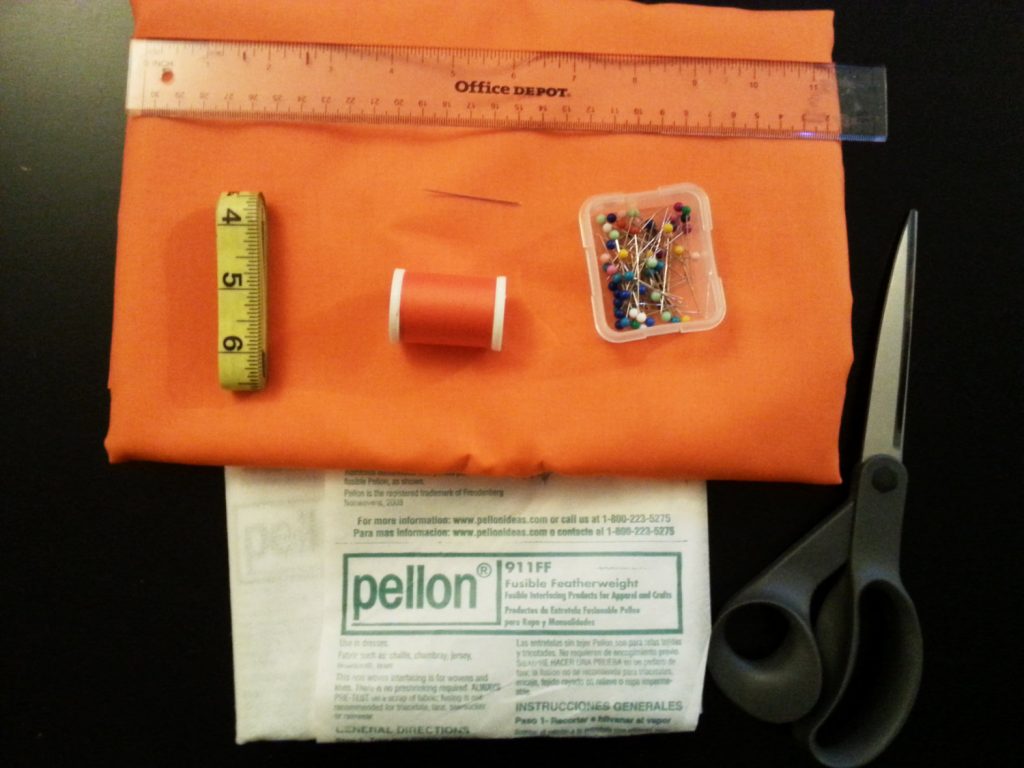
Materials Needed:
Fabric:
- Sash Fabric : 100% cotton 2 – 2 1/2 yards
- Pellon Fusible Featherweight Interfacing 2 – 2 1/2 yards
Thread that matches the fabric
Tools:
- Ruler
- Fabric measuring tape
- Pen
- Fabric Sheers
- Pins
- Sewing Machine
- Sewing Needle
 Step One:
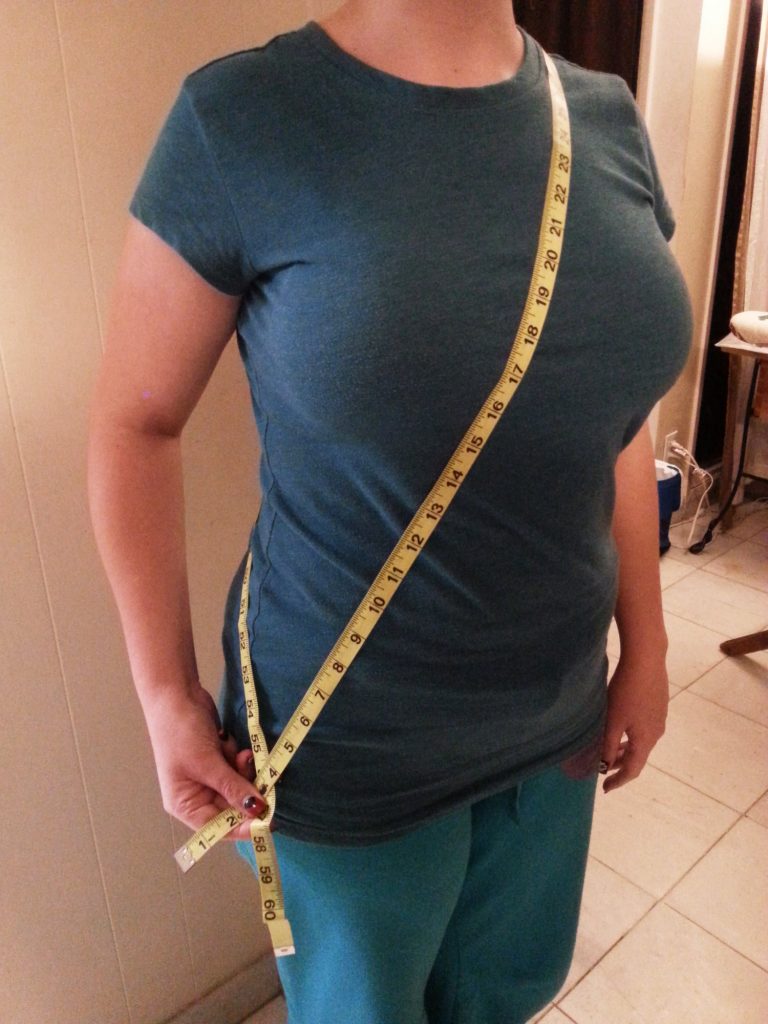
Measure across the body where you would like the sash to lay using the fabric measuring tape. Make sure to leave some slack. Add a half inch to the width and length.
My personal measurement is 3 1/2″ x 60 1/2.” I added a half inch and made it 4″ x 61″.
 Step Two:
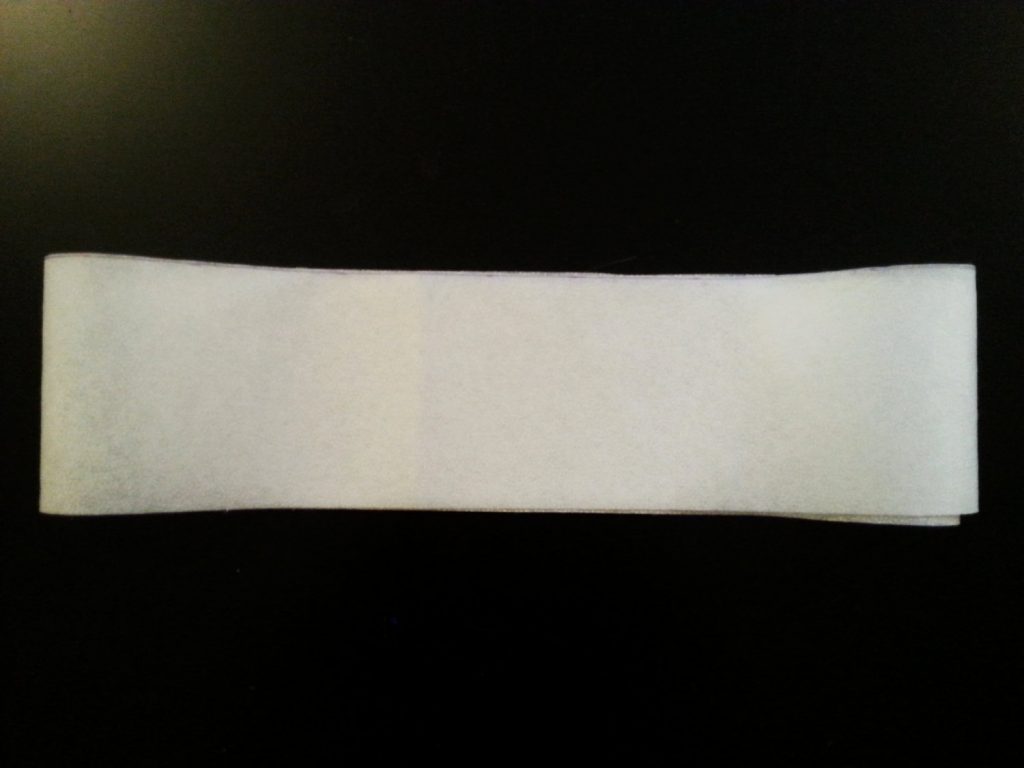
Mark the Pellon Fusible Featherweight Interfacing to the same measurements (using the ruler) and cut the interfacing.
 Step Three:
Apply the interfacing by ironing it to the fabric chosen for the sash. See interfacing instructions for the correct temperature setting.
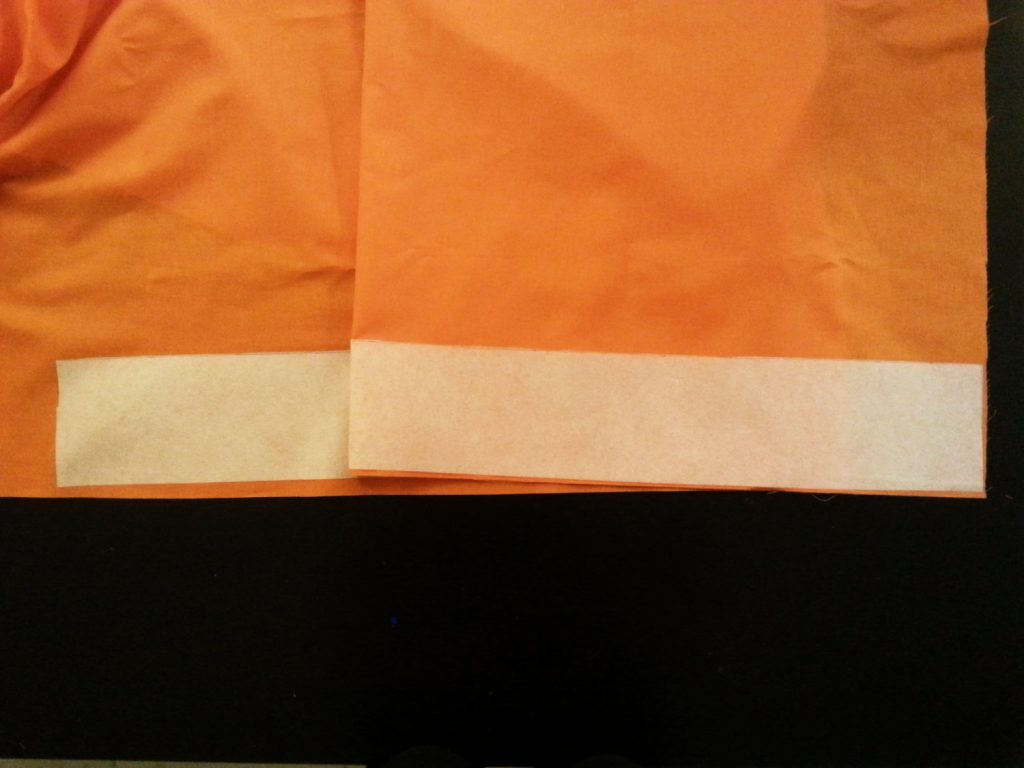 Step Four:
Cut the fabric that has been ironed to the interfacing, leave a bit of extra fabric around the edges.
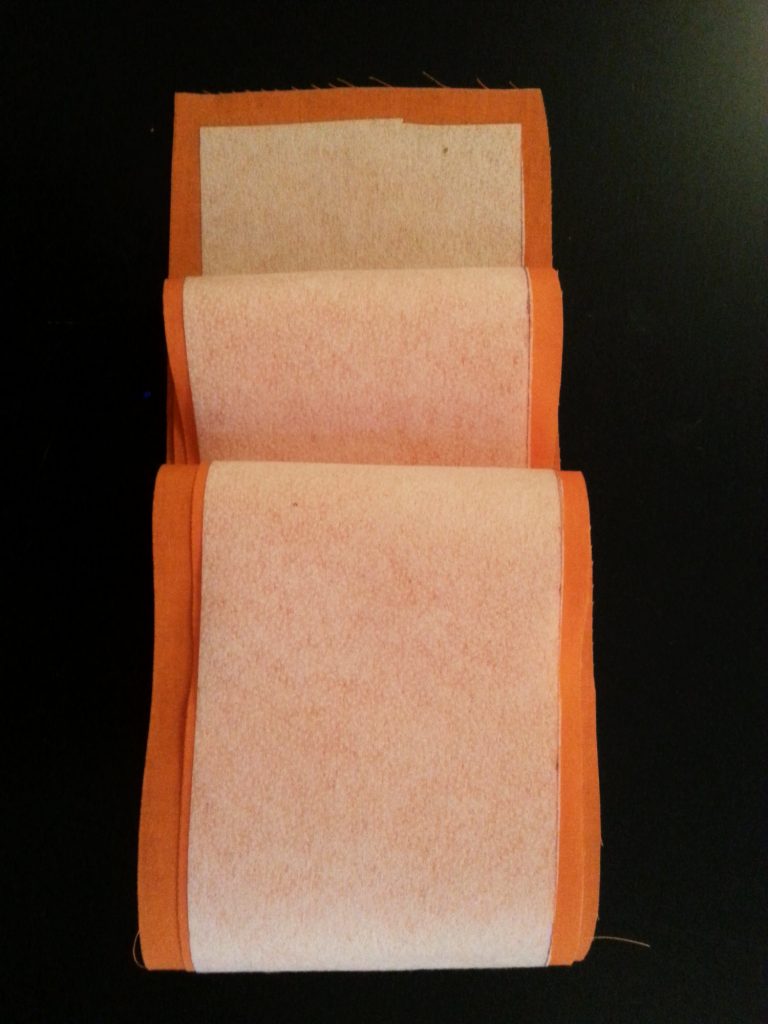 Step Five:
Pin the cut fabric with interfacing to the uncut fabric and use this as a guide to help you cut a second piece.
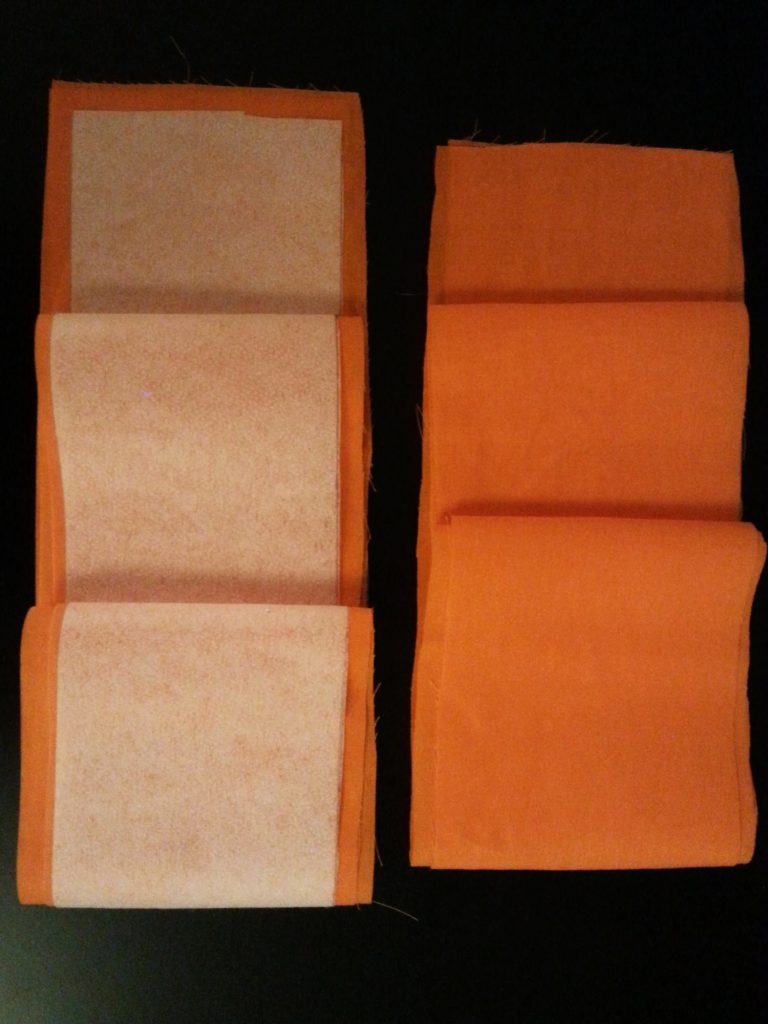 Step Six:
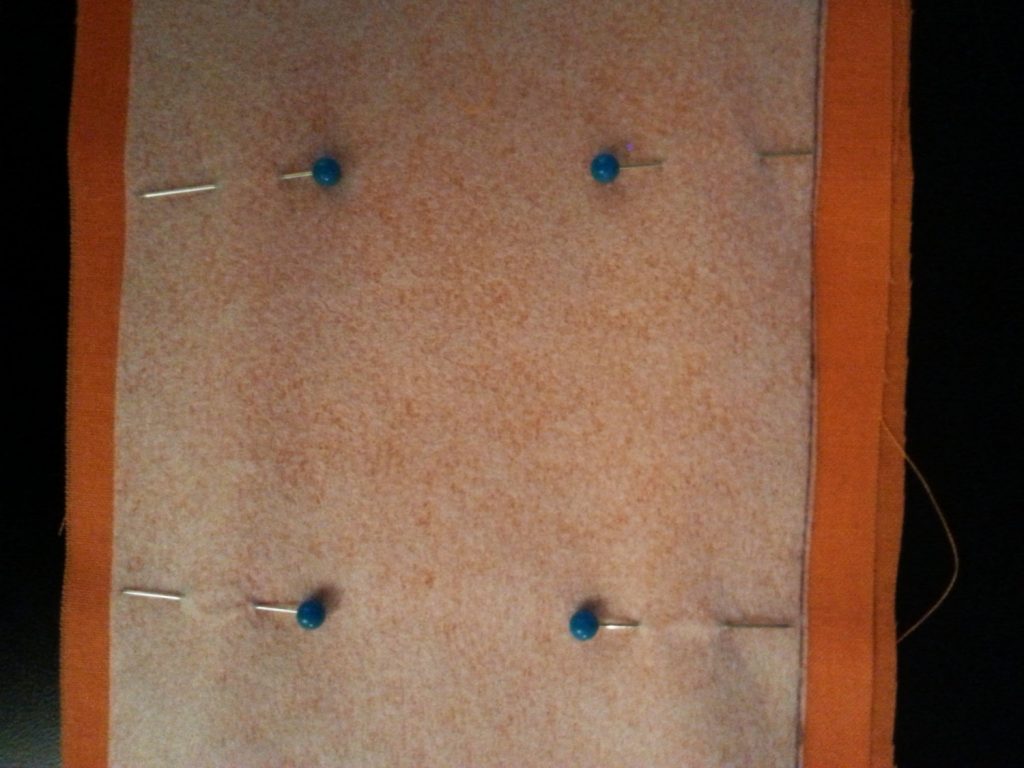
Pin both pieces of fabric to each other. Keep in mind that the sides facing each other, will ultimately be on the outside of the sash.
Step Seven:
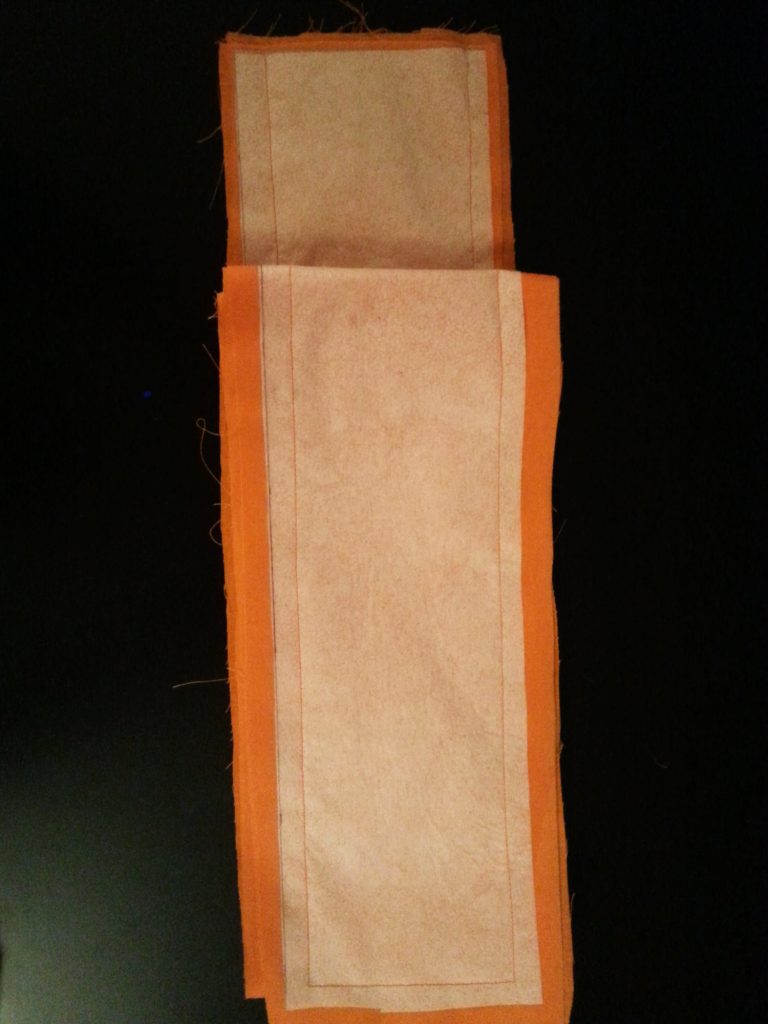
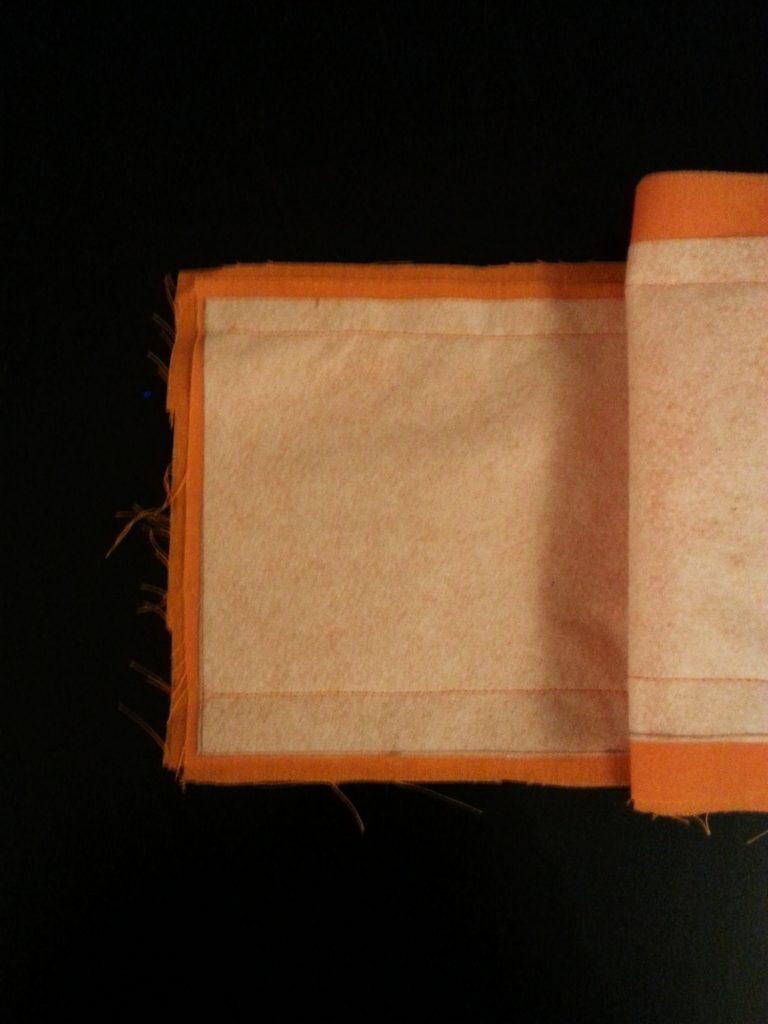
Sew fabric together with a 1/4″seam line, leaving one of the short ends of the sash open.
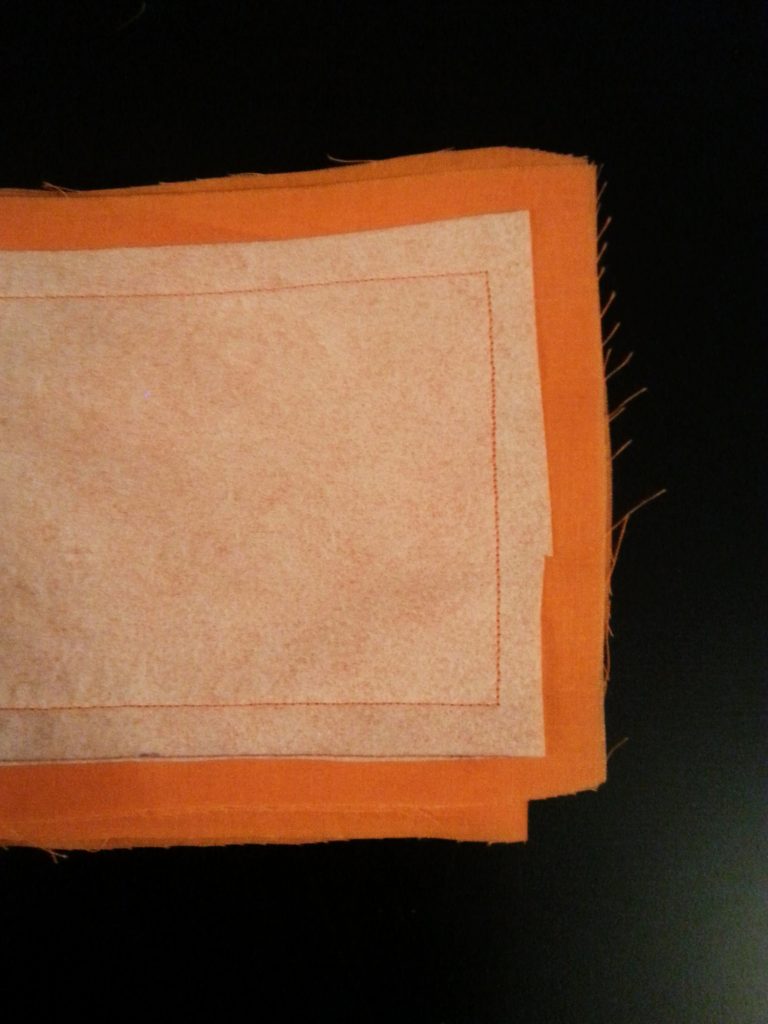 Step Eight:
Cut corners off and trim all edges clean.
 Step Nine:
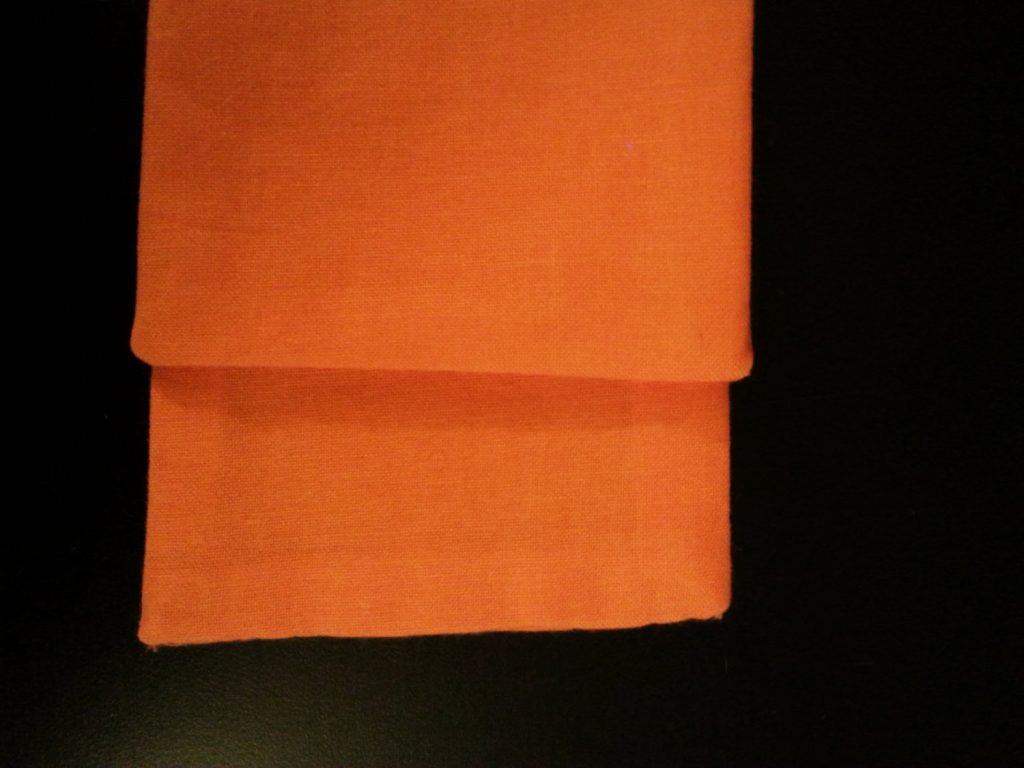
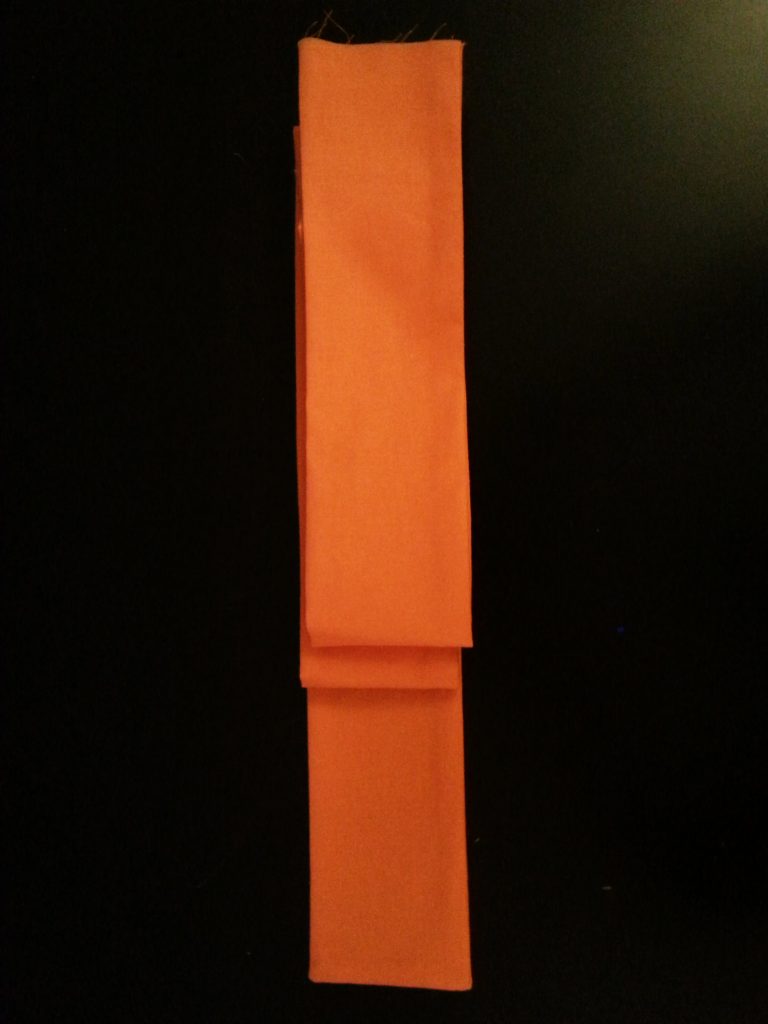
Turn sash correct side out and iron.
 Step Ten:
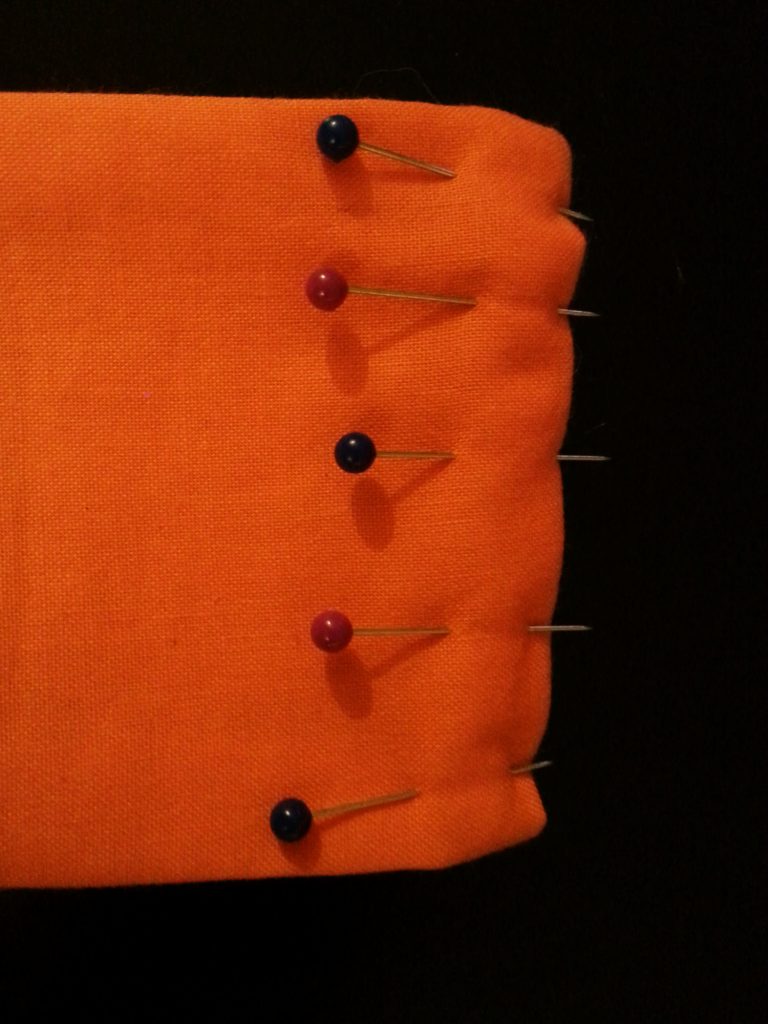
Tuck in the open edge of the sash and pin in place.
 Step Eleven:
Either sew the pinned end closed with the sewing machine or with an inside stitch.
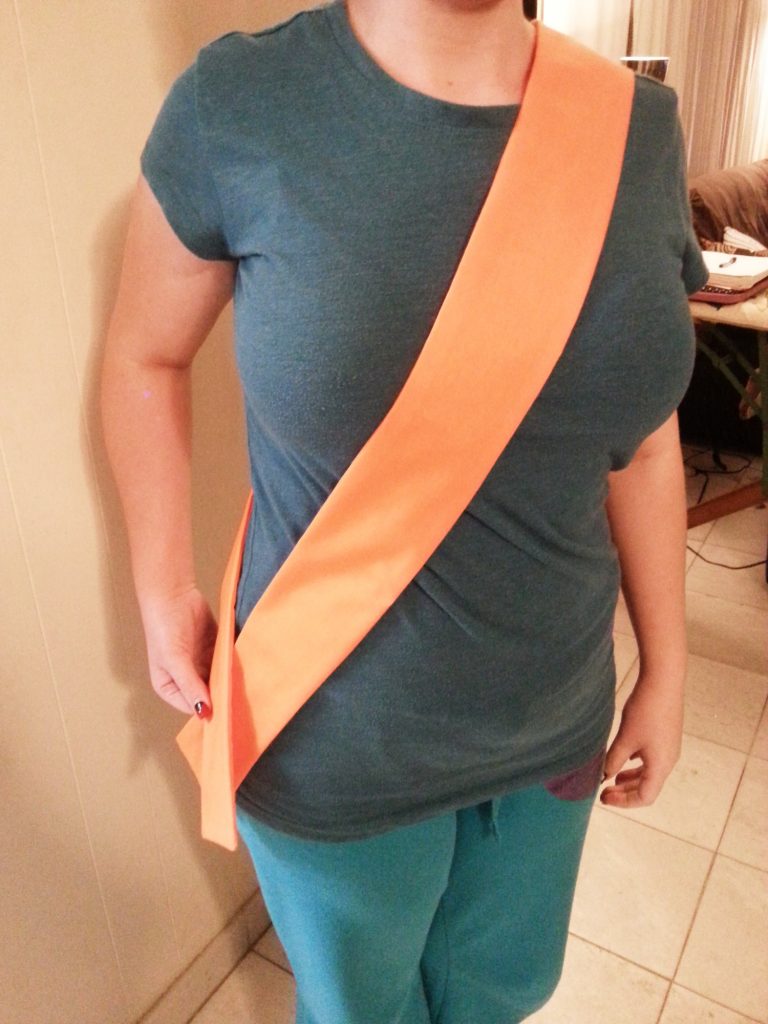
Here’s the finished Sash, with Megan modeling it!


