[vc_row padding_setting=”1″ desktop_padding=”no-padding-tb” ipad_padding=”sm-no-padding-top” mobile_padding=”xs-no-padding-top” margin_setting=”1″ desktop_margin=”no-margin-top”][vc_column][hcode_simple_image padding_setting=”1″ desktop_padding=”no-padding-tb” ipad_padding=”sm-no-padding-top” mobile_padding=”xs-no-padding-top” margin_setting=”1″ desktop_margin=”no-margin-top” hcode_image=”31080″][vc_column_text]Our pal BeezleBub Ross (a talented illustrator in his own right) just created this FANTASTIC wall Krampus which he calls the “Krampumpkin”! Whatever you call it, we LOVE it here at Monster Rangers HQ, and asked if he’d allow us to share his build process with the other Rangers.
And here’s BEEZLEBUB!:
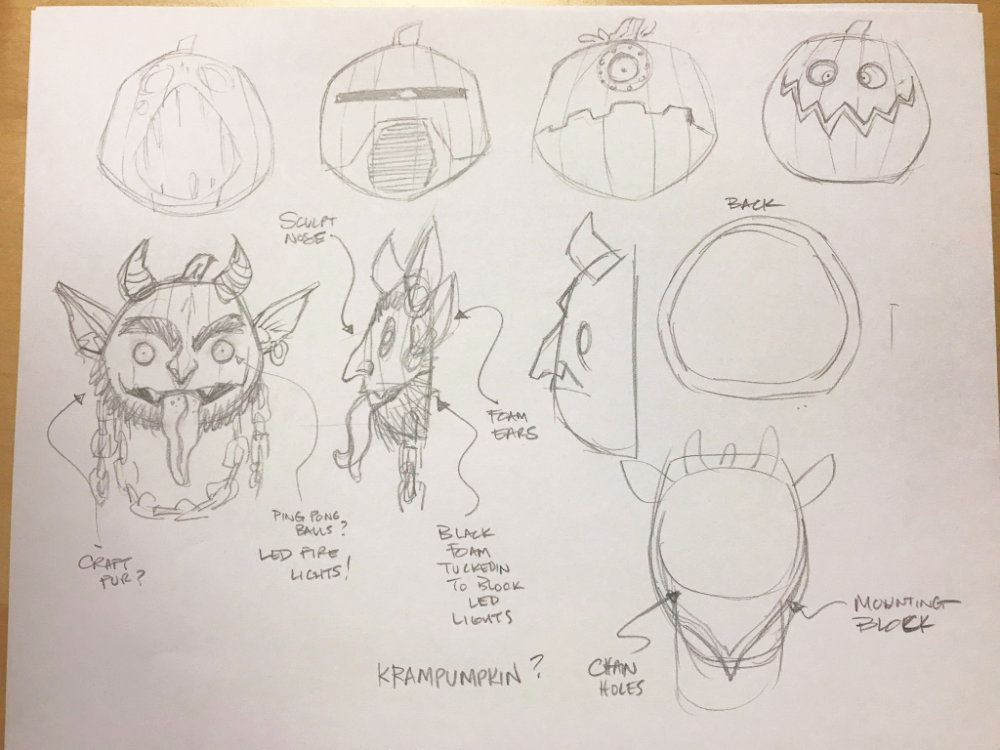
Coming up with the idea a week prior. This was a rush job, so I knew I had to find the idea quick.
Ok, ghoul, mmno.
Cylon? Interesting, but eh.
Steampumpkin? Hmm, maybe?
Crazy creation? Close!
Krampus. Yes. Yes. Yes.
I channeled the basic layout here, with eyes, ears, and a rough idea of how to mount him.
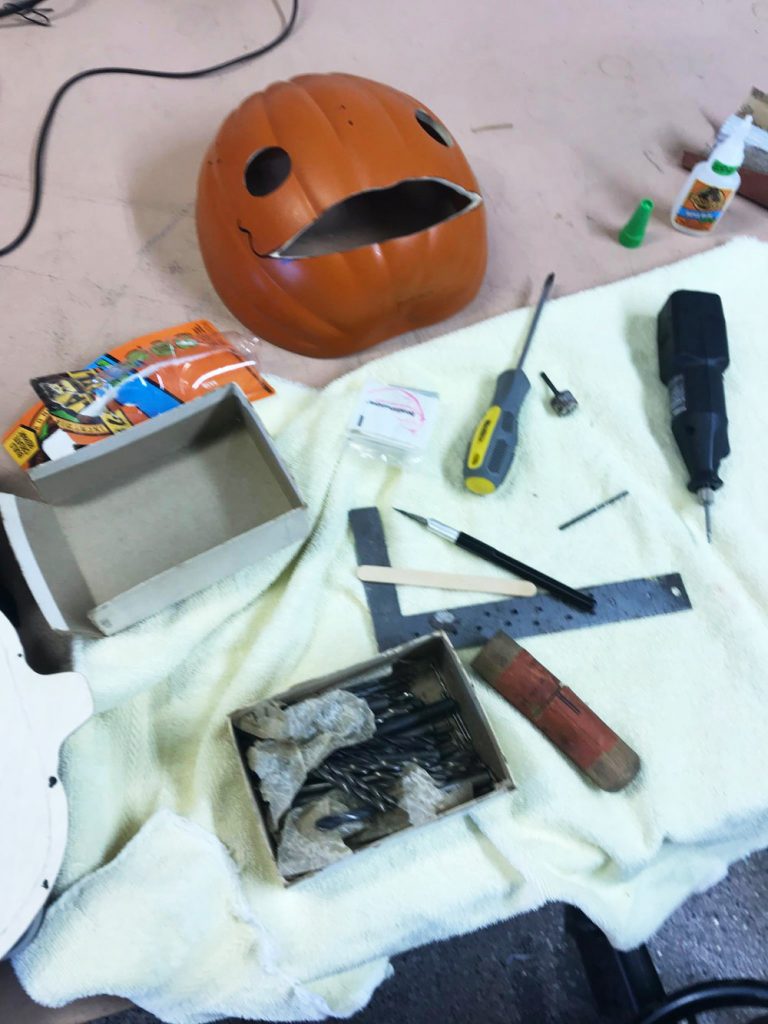
I started with a craft pumpkin half. Could I sculpt one? Sure I could, but 1: I didn’t have the time, and 2: I have a ton of these guys lying around. (I tend to scoop them all up at Michael’s at the end of the season each year.)
Invaluable items to have:
Dremel. I cannot stress this enough. It is a godsend.
NEW xacto blades.
Super glue.
And many grades of sandpaper.
The rest is up to you, based on budget and availability. my full list is as follows.
Felt
Craft Foam (various sheets)
Fur (several shades)
LEDs with wiring
Super Sculpey
Apoxie (https://www.amazon.com/Apoxie-Sculpt-1-Lb-White/dp/B0013UDWXI)
Expoxy
Floral wire
Fake leaves
Aluminum Foil
Glue Gun
And probably more, but that’s about 90% of the ‘summoning’ materials.
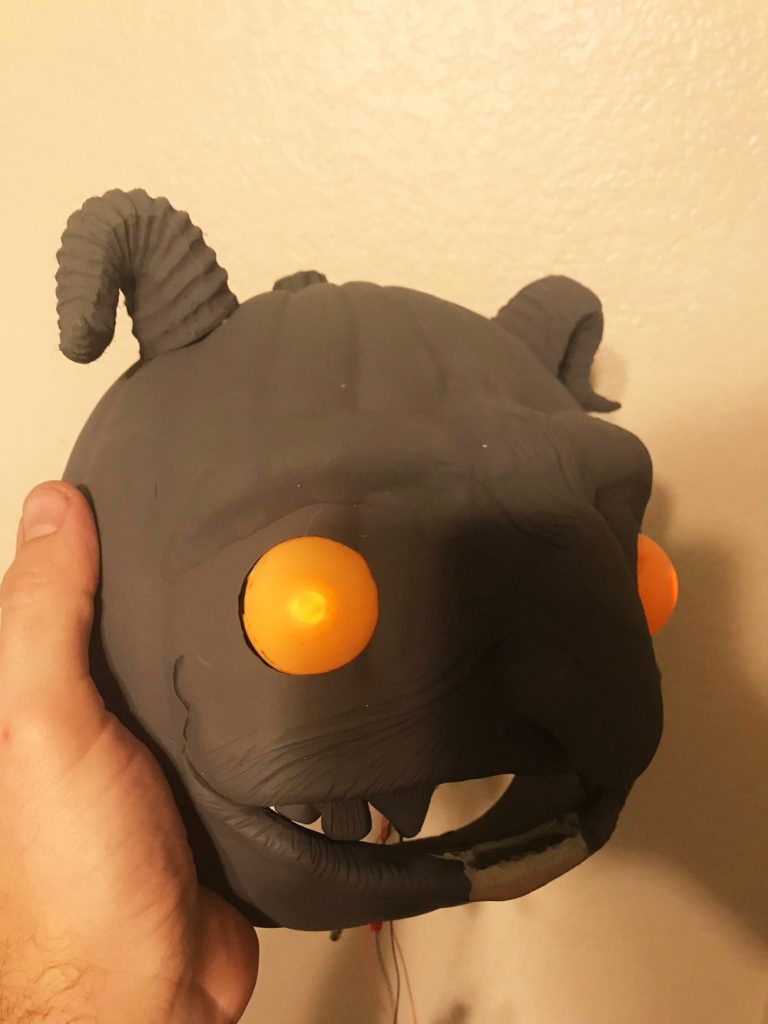
The horns were stolen from a Rubie’s costume. Again I could sculpt these, but I had to be quick, and I didn’t want to cast anything. They’re solid resin so they needed to be pre-drilled and are attached with screws and washers into the pumpkin itself.
The rough area of nose and lips were done in Apoxie. It air cures and is ready to be sanded in 3 hours or so, so it’s a great substrate for this. Plus it bonds without adhesive and Sculpey never keeps its shape when curing. I rolled out thin sheets of Sculpey and pressed them on top, and used dentist tools, plastic bags, nail clippers, whatever I could find to make the impressions I wanted on the surface. I then baked it for 15 mins @ 275 in my oven. I didn’t know if it would burst into flames, so I literally had to watch it minute by minute. It amazingly worked! After curing I primed it so that I could see my crimes and how I would approach hiding them. (Thanks Adam Savage for that beautiful term)
You can see where I’m going to attach the tongue in this pic, as I’ve routed out the general area. The first tongue was made with the same technique, however the Apoxie/Sculpey was much too heavy, and I decided to go with just Sculpey over a skeleton of foil, and epoxied it into place.
The eyes are ping pong balls, Dremeled out and filled with 3 LEDs each. I ran the LEDs through a piece of craft foam with a slit cut in it to make sure they wouldn’t pull back out when wiring began. This is me testing those lights, which I did throughout the process.
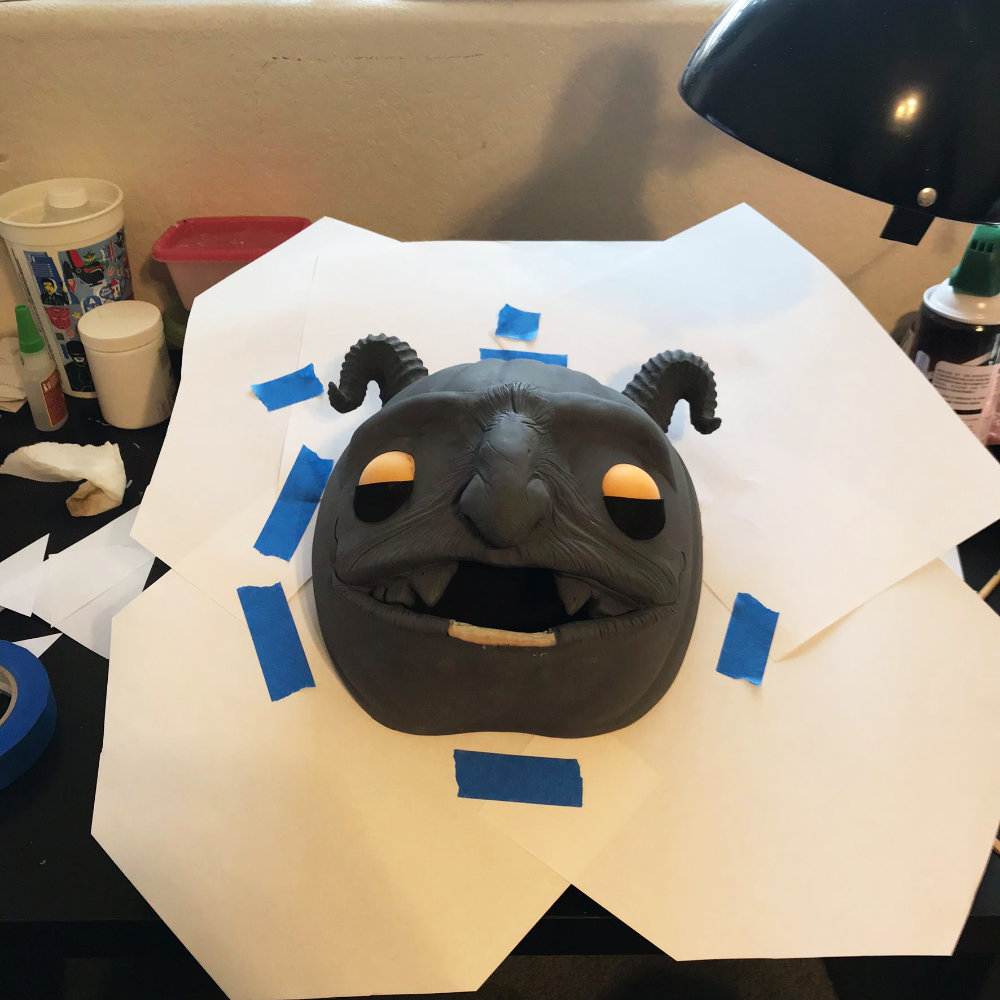
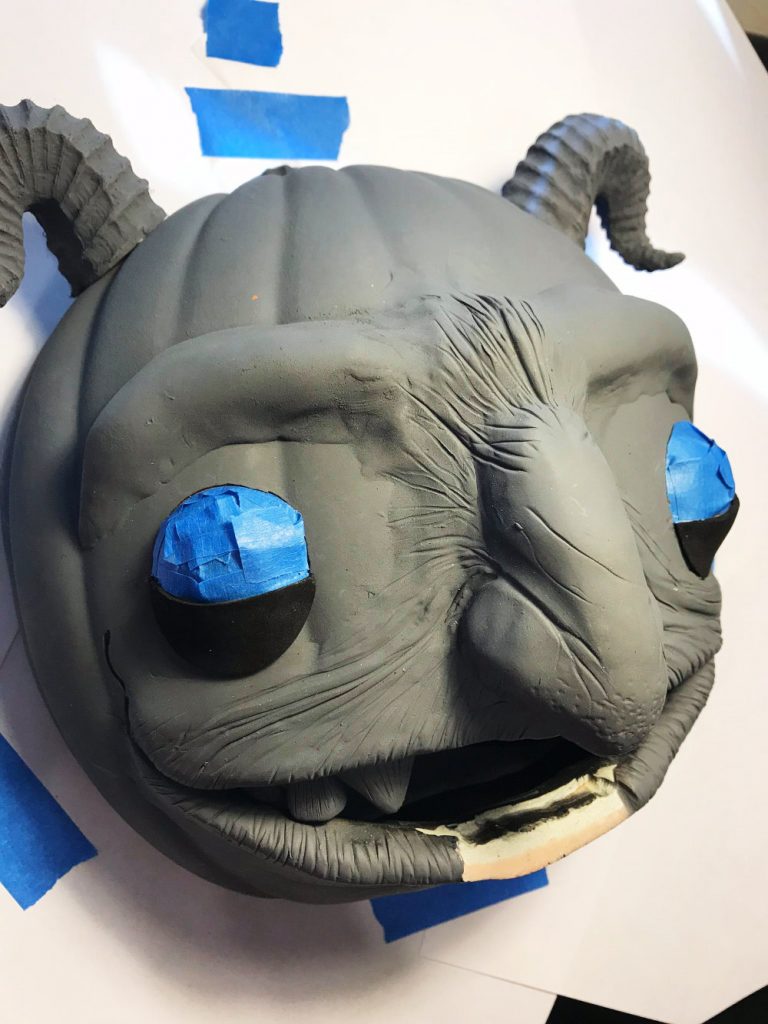
Masking! I’ve bolted him to an awesome rustic board I found Michaels Stores since I had no access to a band saw at the time. I chose to add foam lower lids to give him more character and dimension, but to hide some gaps that formed by the slight warping in the oven.
I stuffed his mouth with paper too. To muffle the screams and also to keep the paint from going in there. It was a win-win.
No peeking!
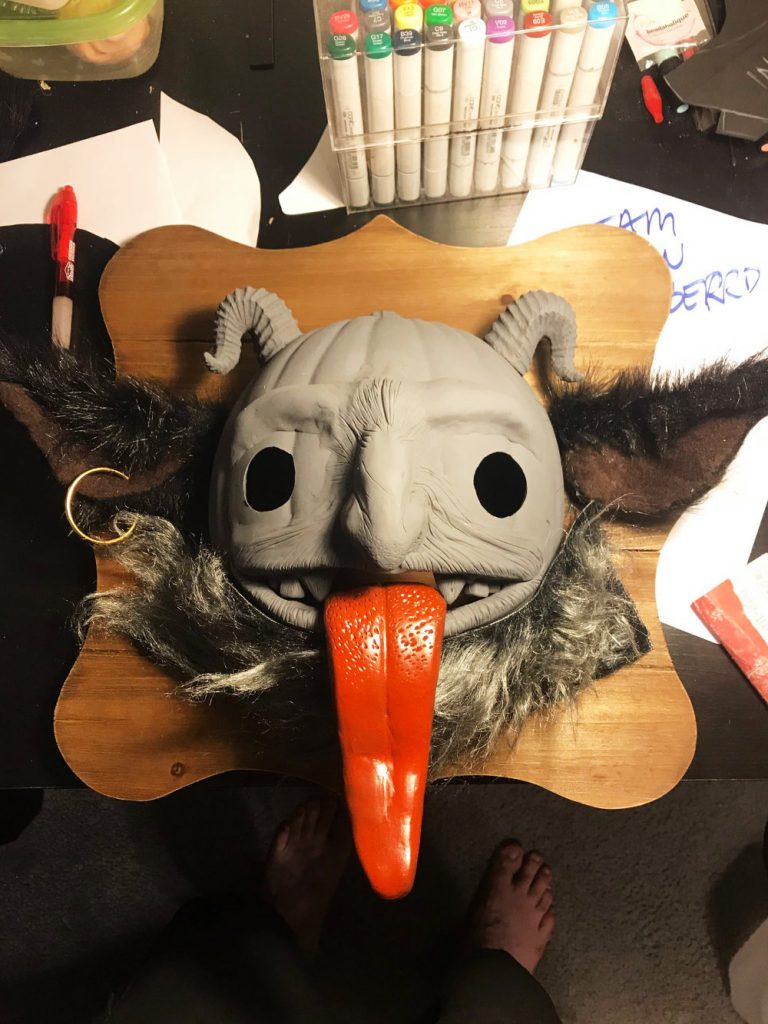
A dry fit without the eyes. This is tongue #2 with a flat pass of base red. The underside was black to give it a natural shadow. A little texture tossed on helped it look like like a slug.
I’m also playing with my fur combinations and crafted some ears with felt, floral wire, and a covering of fur.
Matching the fur from the ears would help them naturally blend into the rest of the face and hide the seams.
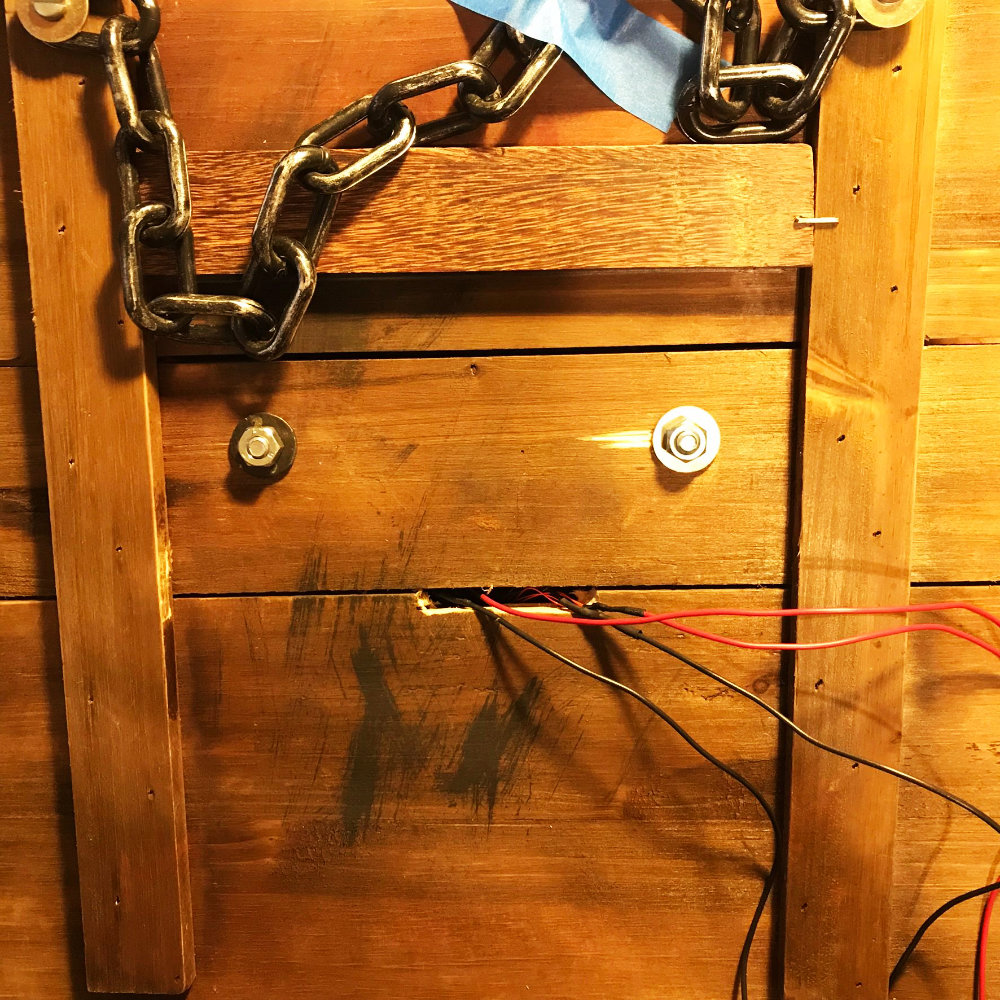
Here are the attachment bolts I added, rather than gluing, just in case I need to remove him in the future for an LED change. I had to install a 7.5″ crossbeam into the pumpkin along the center which was drilled into the sides with two countersunk wood screws. (PRE-DRILL PEOPLE! I’M SERIOUS.) Adding some tape would have saved me from that little wood blowout on the right as well.
Oh well.
The wires were pulled through and connected to 2 switches. One controlled the pupils, one the flashing of the enter eye. I hid the tiny switches behind the ears.
The back of the board was also an awesomely evil place to test paint and stain colors! The chain was grabbed at The Home Depot for cheap and dry brushed with a rage and some Krylon bright silver spray paint.
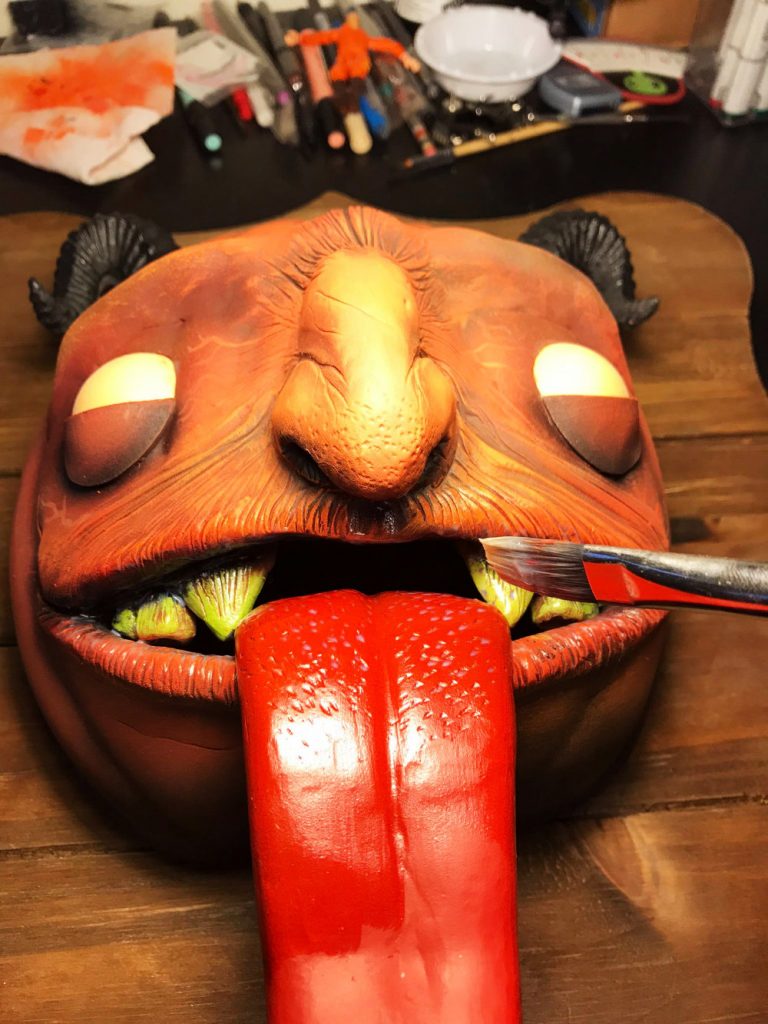
Up in dat mouth!
I passed over this guy with an airbrush to drop in all my tone areas and push the shadows where I needed to. The connection points of the Sculpey and bare pumpkin were rough even after a LOT of sanding in some areas, but I realized if I painted ‘veins’ I could hide those crimes with some awesome looking details that really made it look ‘grown in’.
Here I’m adding gloss gel medium to give it that deliciously wet appearance.
(Yes, that is a Murdoc figure from The A-Team hiding out at the top of the pic.)
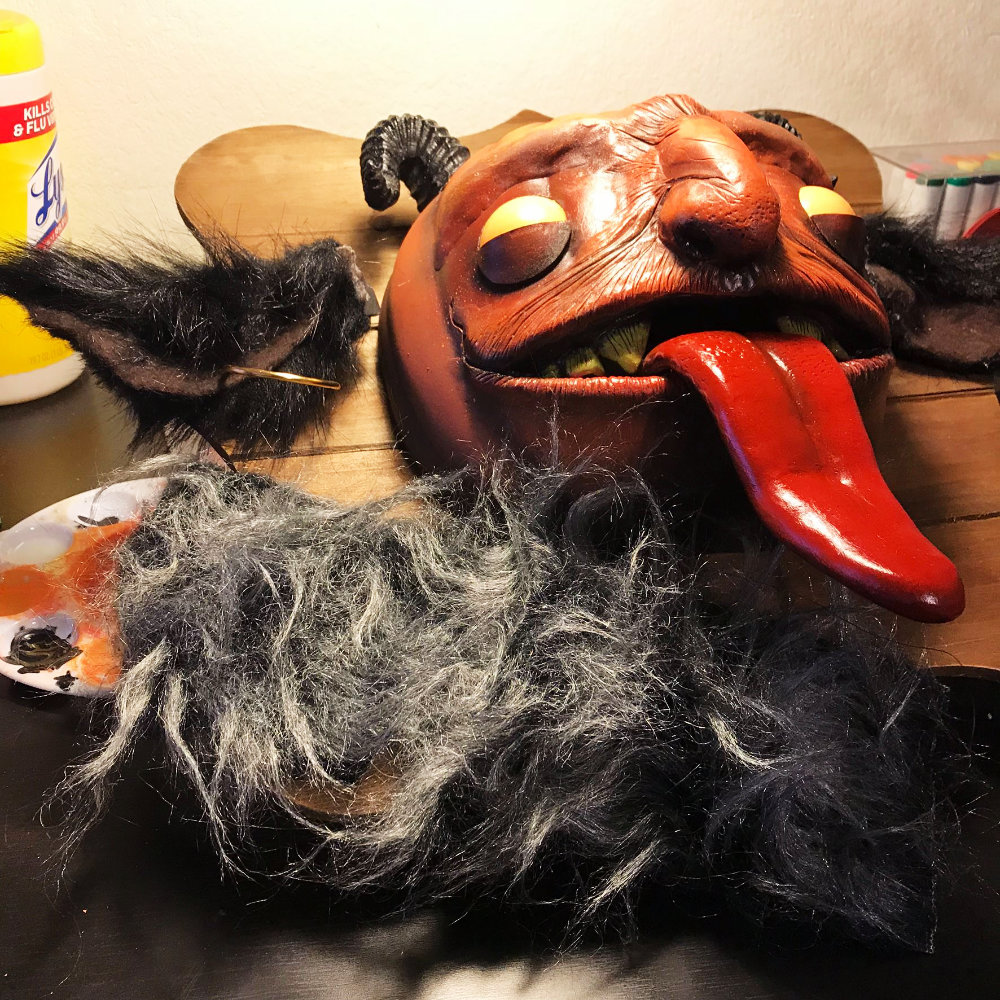
Picking my fur.
Fur has a grain, so to get the beard to look right, I had to cut the piece in half, and then sew together the opposite edges so that it flowed ‘down’ into the proper beard shape. I also glued the edges over onto themselves to hide the exposed fabric from the front view.
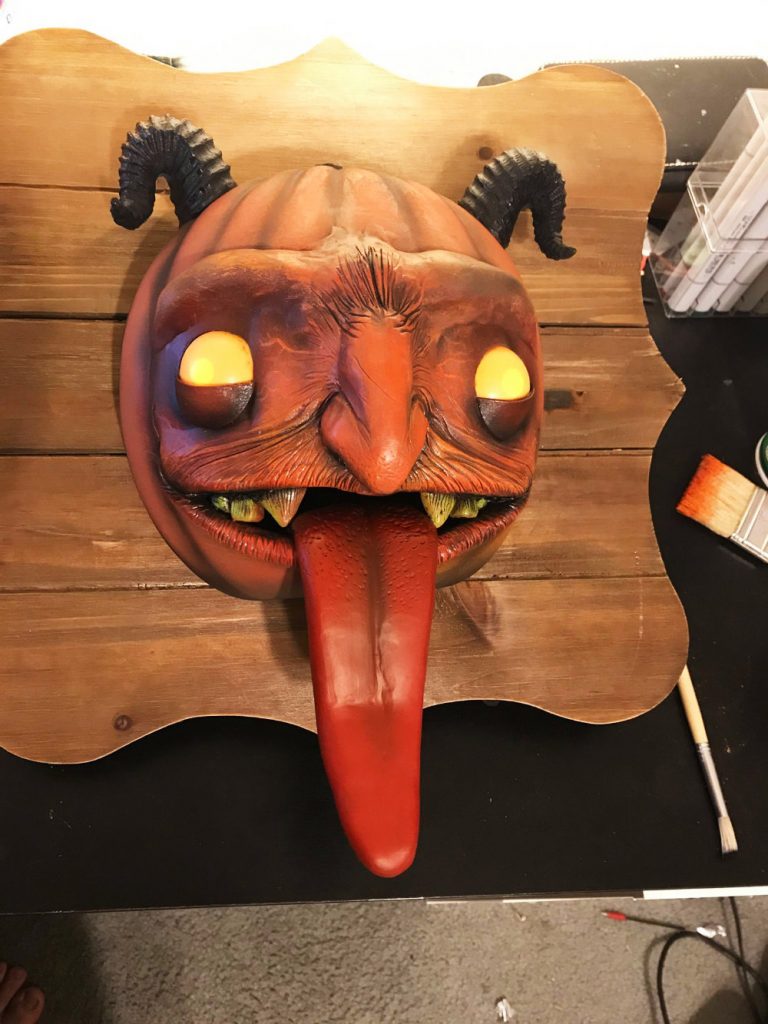
One last airbrush pass, some splattering, and then another coat of gloss gel medium. You know. For funsies.
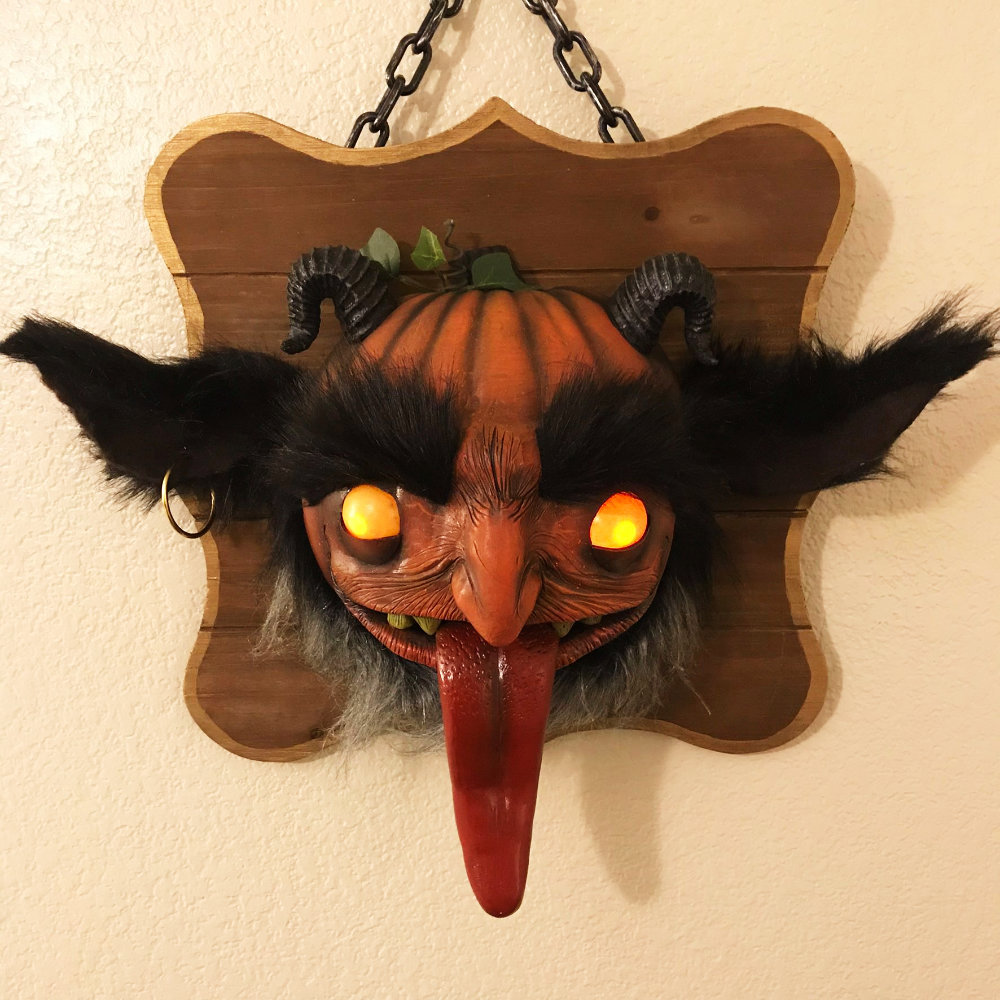
Ermahgerd, almost done. It hangs! It lights! I just wanted more details in the corner is all. I also tossed on some plant wire and fake leaves from some decorative faux ivy. Made some big ass eyebrows too.
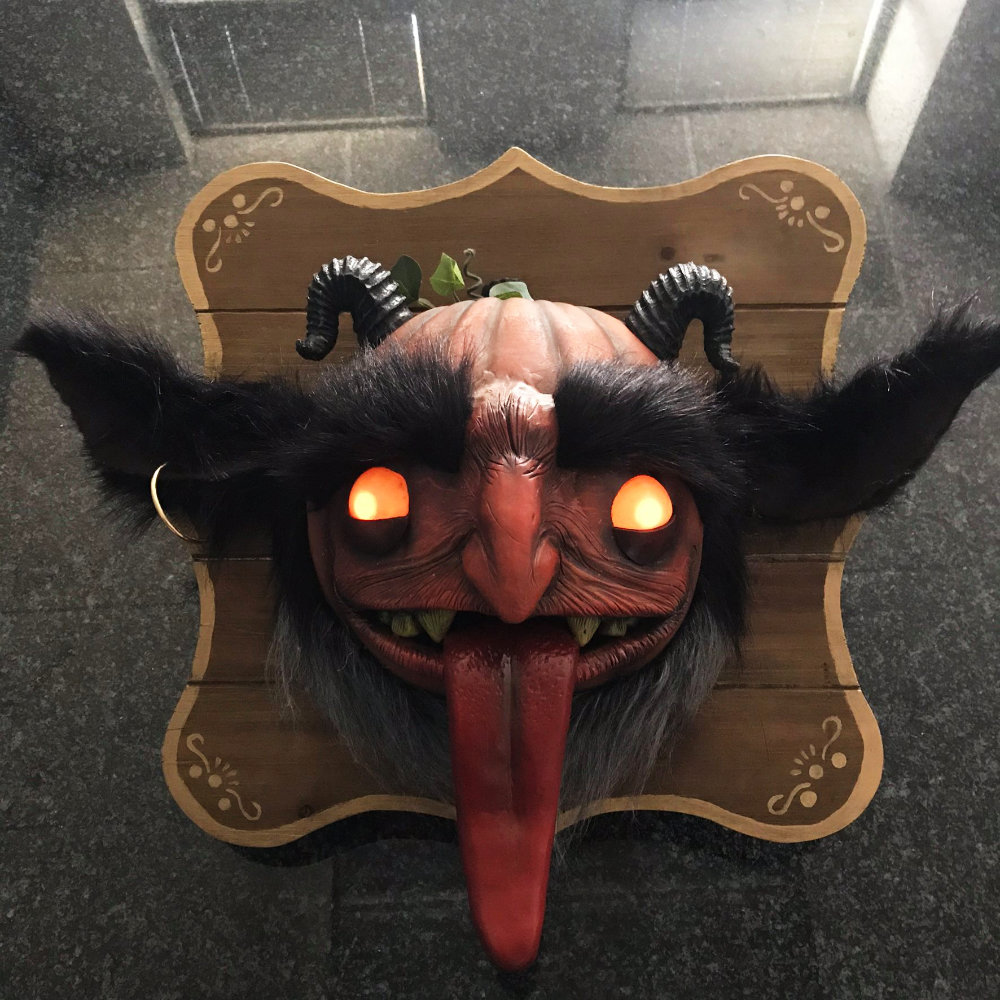
The final piece! I added a few little details to the corner of the board to give it a rustic feel. I built a stand to display him on a table when not hanging on a wall. It was simply 3/8″ angled pieces of wood glued/nailed to a piece of plywood as a base.
Thank you for sharing, BeezleBub Ross!
You can check out more of his work at AtomicSpork.com and you can – and should – follow him on Facebook![/vc_column_text][/vc_column][/vc_row]
