So, I just got a Fender Rumble 500 (after doing a bunch of research for affordable amps), and I love it. It’s able to do a lot of tones, it’s plenty loud over my son’s drums, it can growl, and it’s much lighter (and cheaper to run) than my Mesa Boogie 400+ tank, which currently needs like $800 in new tubes. I just wanted something that just works… at it does.
That said, the Rumble 500… is just a basic cabinet. There’s little flair there. It’s not very fun to look at.
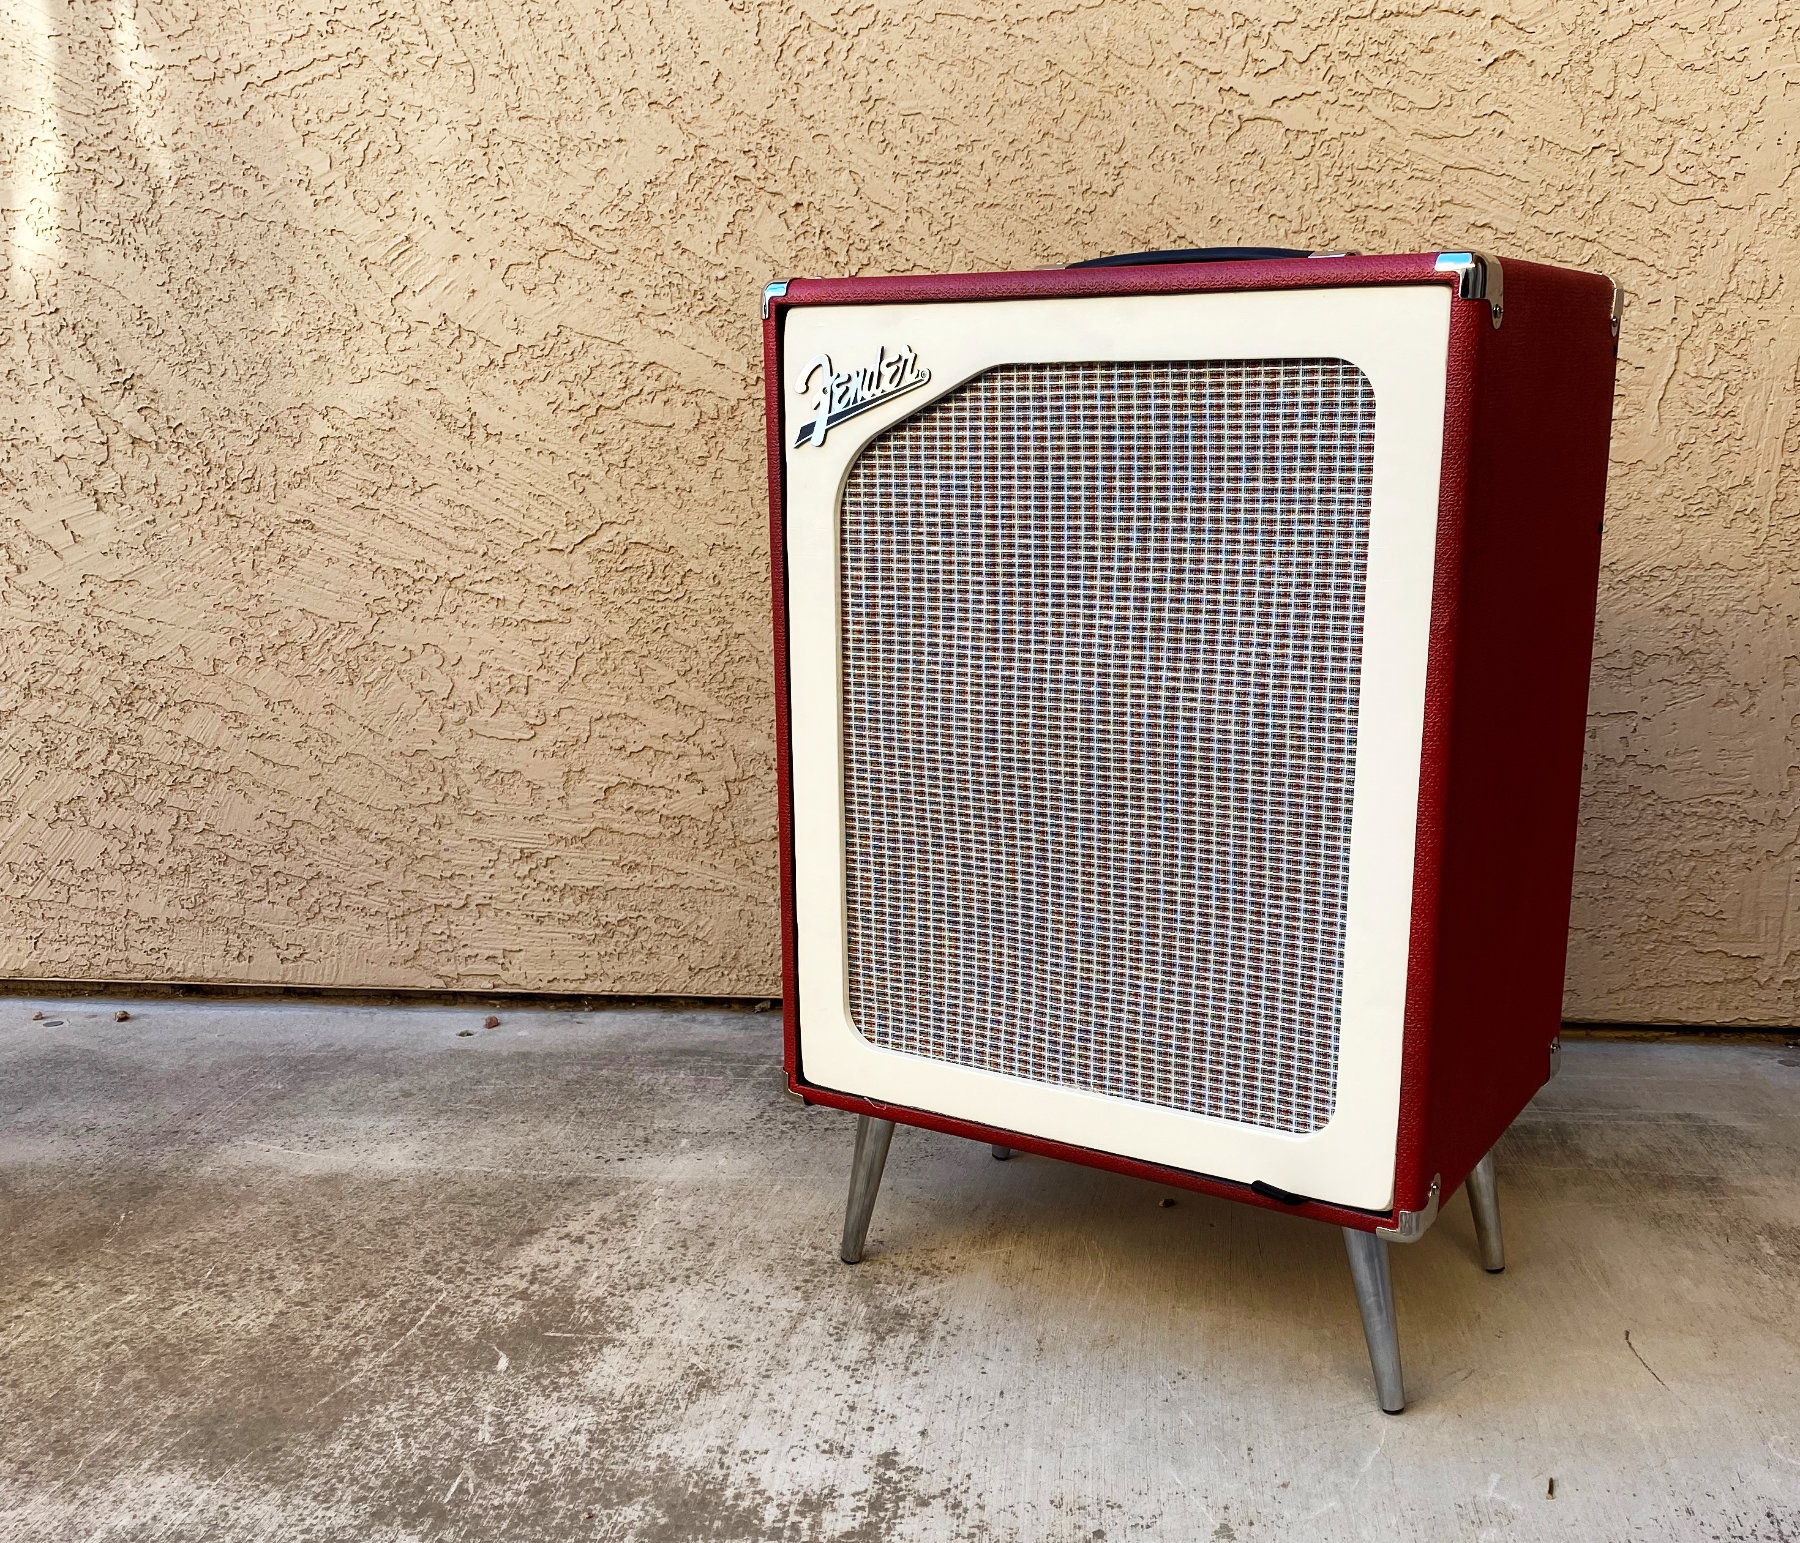
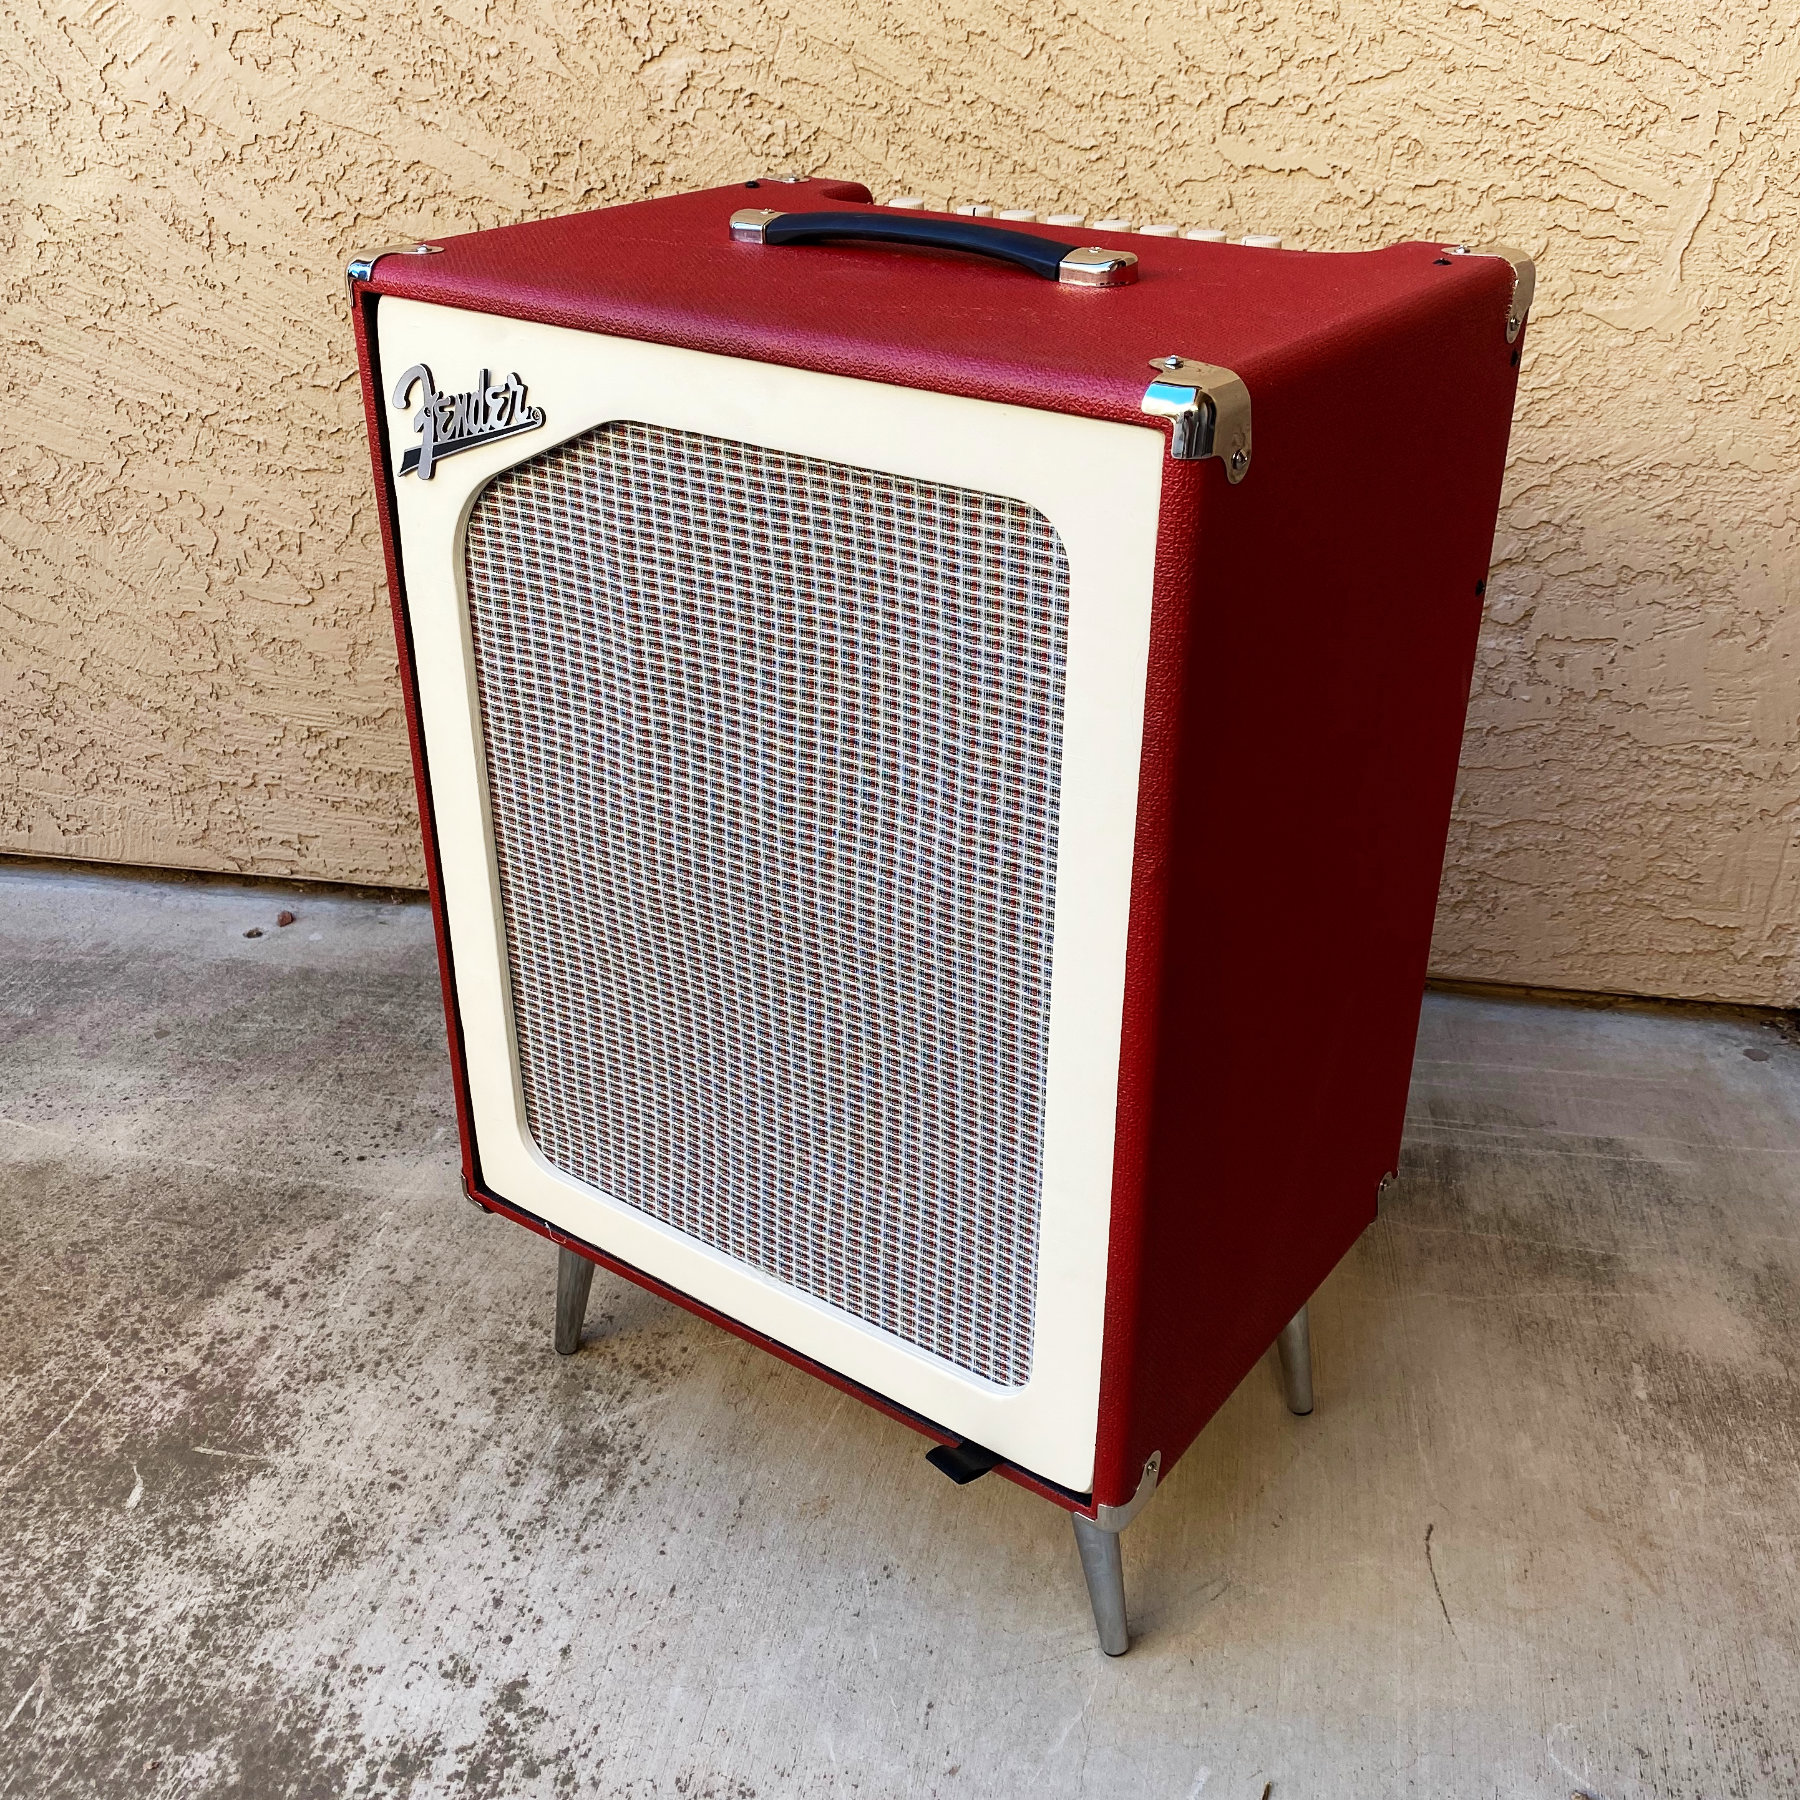
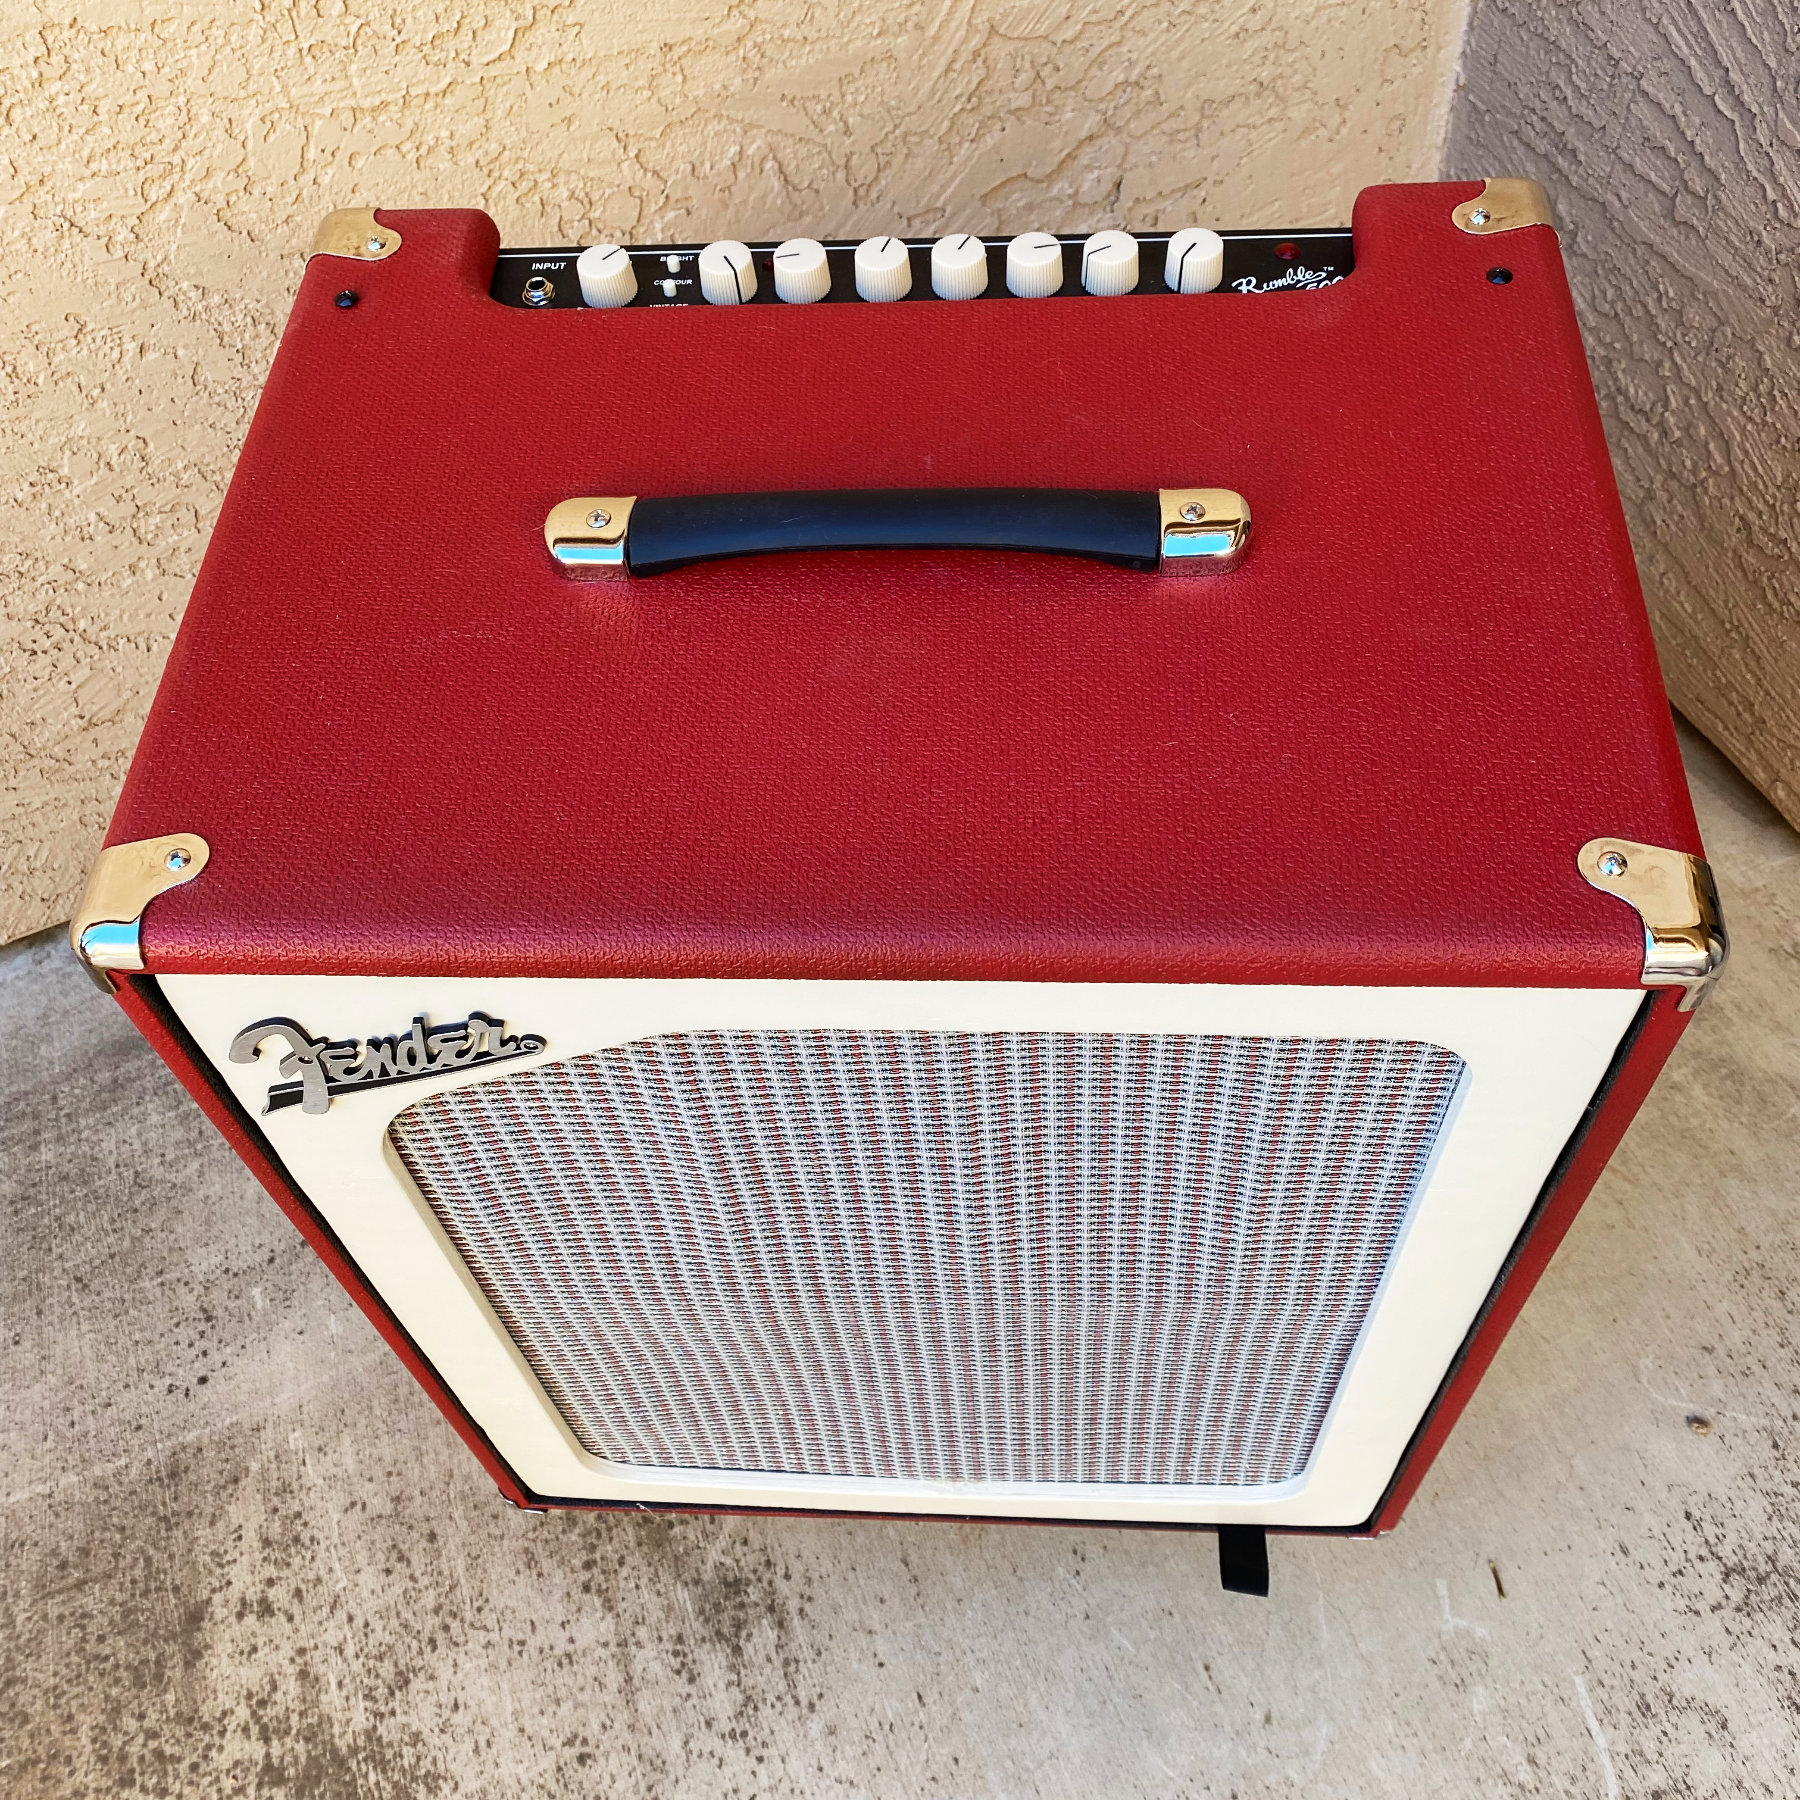
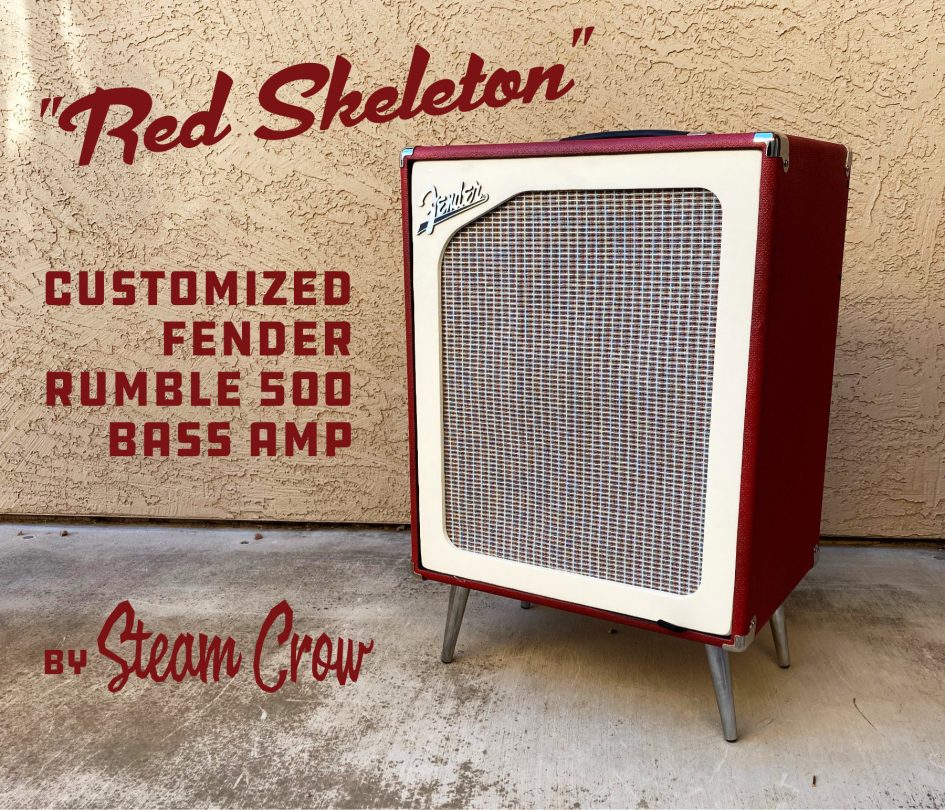
So yeah, I’m one of those crazy people that decides to paint their Fender Rumble Bass amp. No, it’s probably not a great idea, but I was really inspired by the fantastic retro look of the Tone King line, and wanted to convert mine to look a little like theirs, but for a lot less money.
I call mine The RED SKELETON.

HOW I CUSTOMIZED IT
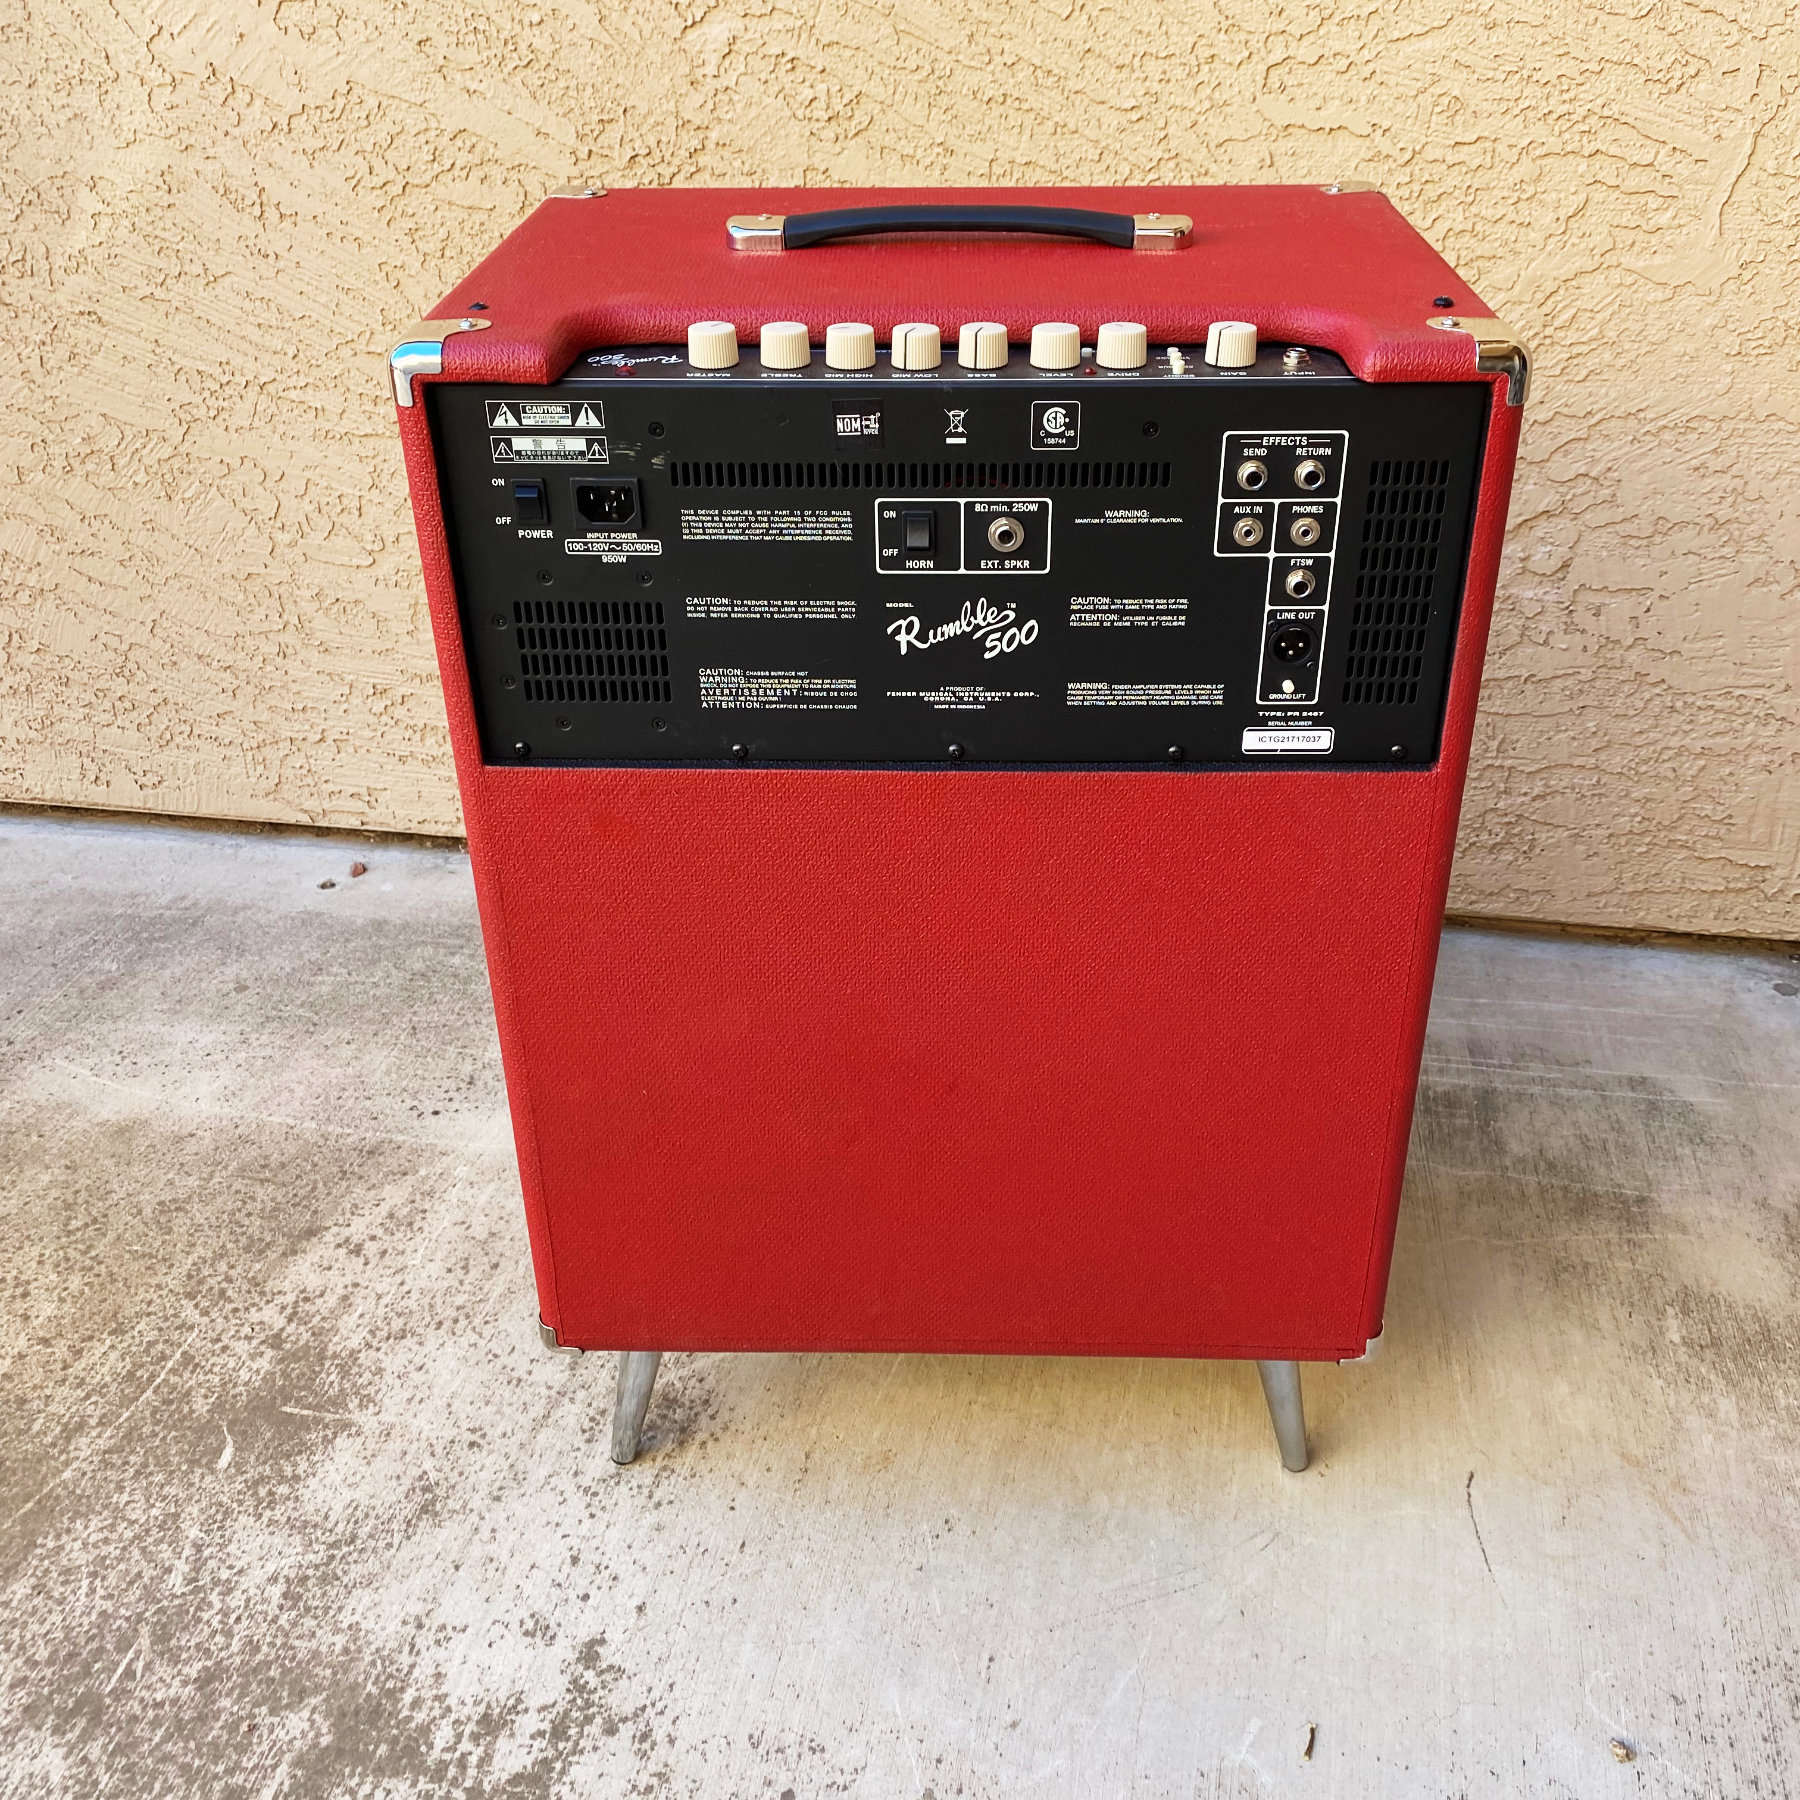
First off, I removed all of the hardware; the handle, feet, corner protectors, and amp head. I feared that the head would be the most challenging thing to deal with, but the way that they mount it it was a piece of cake. I just removed all of the domed screws around the head on the top and sides, and it slides right out. Unplug one little cord, and you’re good to go.
Next up, you have to clean the Tolex really well. I used rubbing alcohol, and gave all of the surface a good rub down. I made sure that the alcohol had time to completely dry.
Then, I taped off the speakers and the poweramp hole with painters tape and craft paper. From there, I got 3 cans of SEM Marine Vinyl Paint in red. I would have liked a good turquoise, but they didn’t offer that color. Maybe next time.

I applied the three cans over the course of an afternoon, in the Spring Arizona heat. (Highs in the high 70’s.) Each coat was put on nice and thin, and I tried to hit the corners with more coats, to add a little armor. We have such low humidity here, that I only had to wait about 20 minutes between coats.
Once the paint cured for a few hours, I brought it back in the house, and added back the hardware; the corners, handle, and power amp. Turned it on, and made sure that everything was working properly. (It was.)
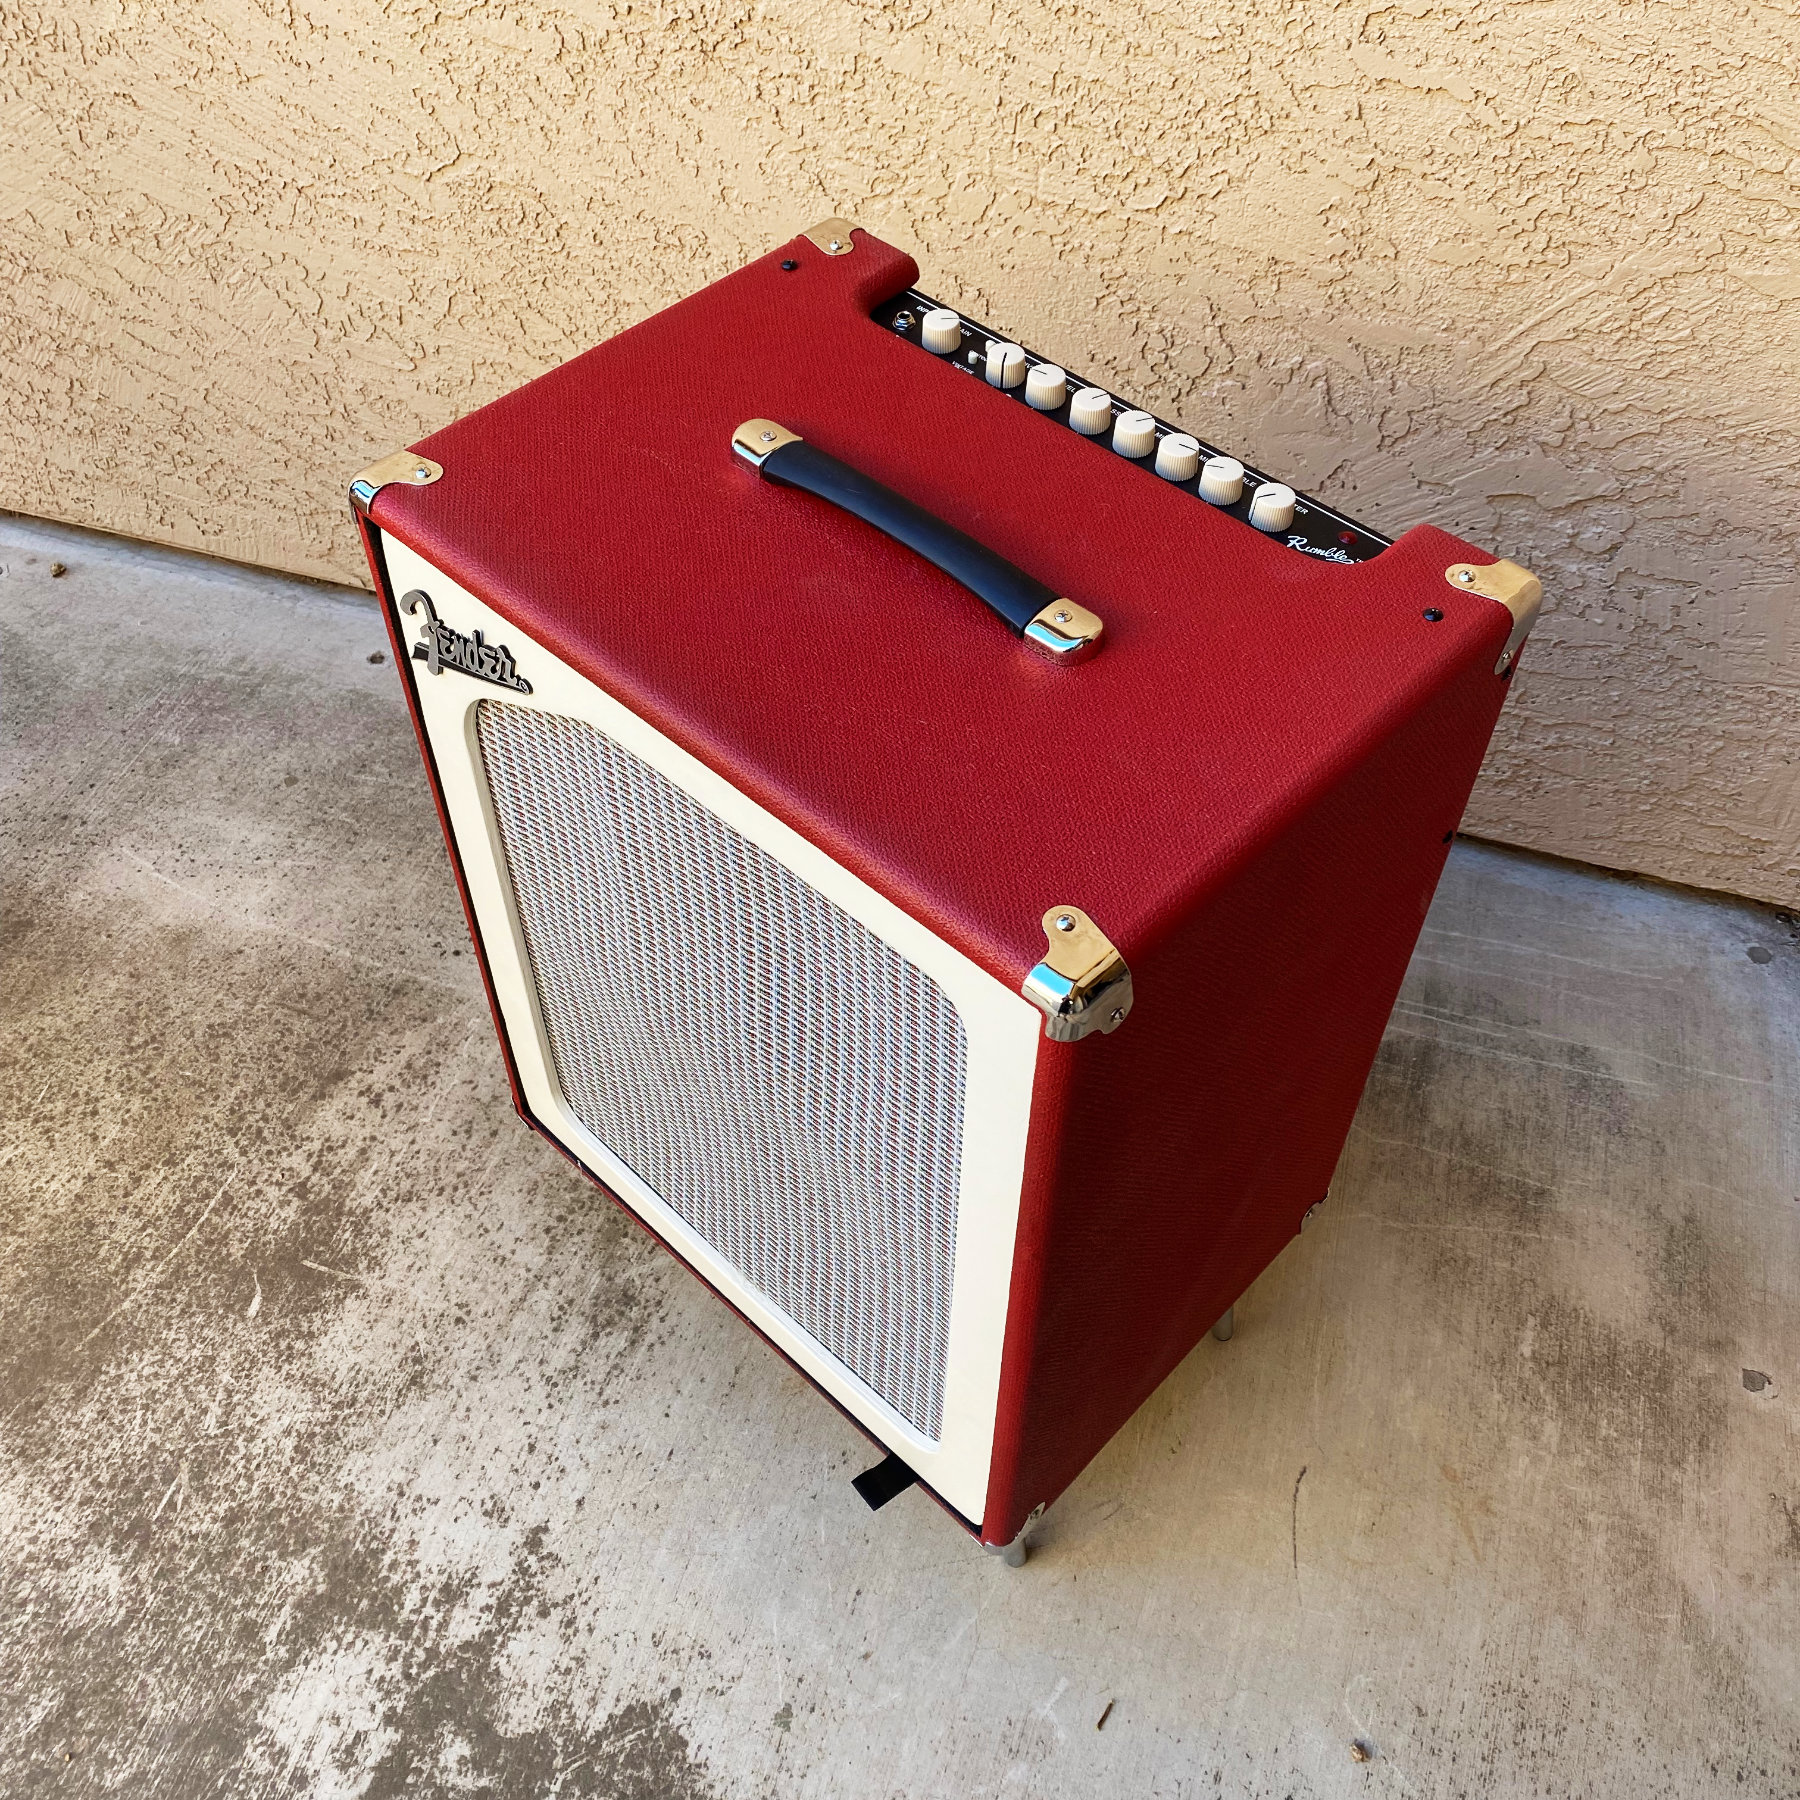
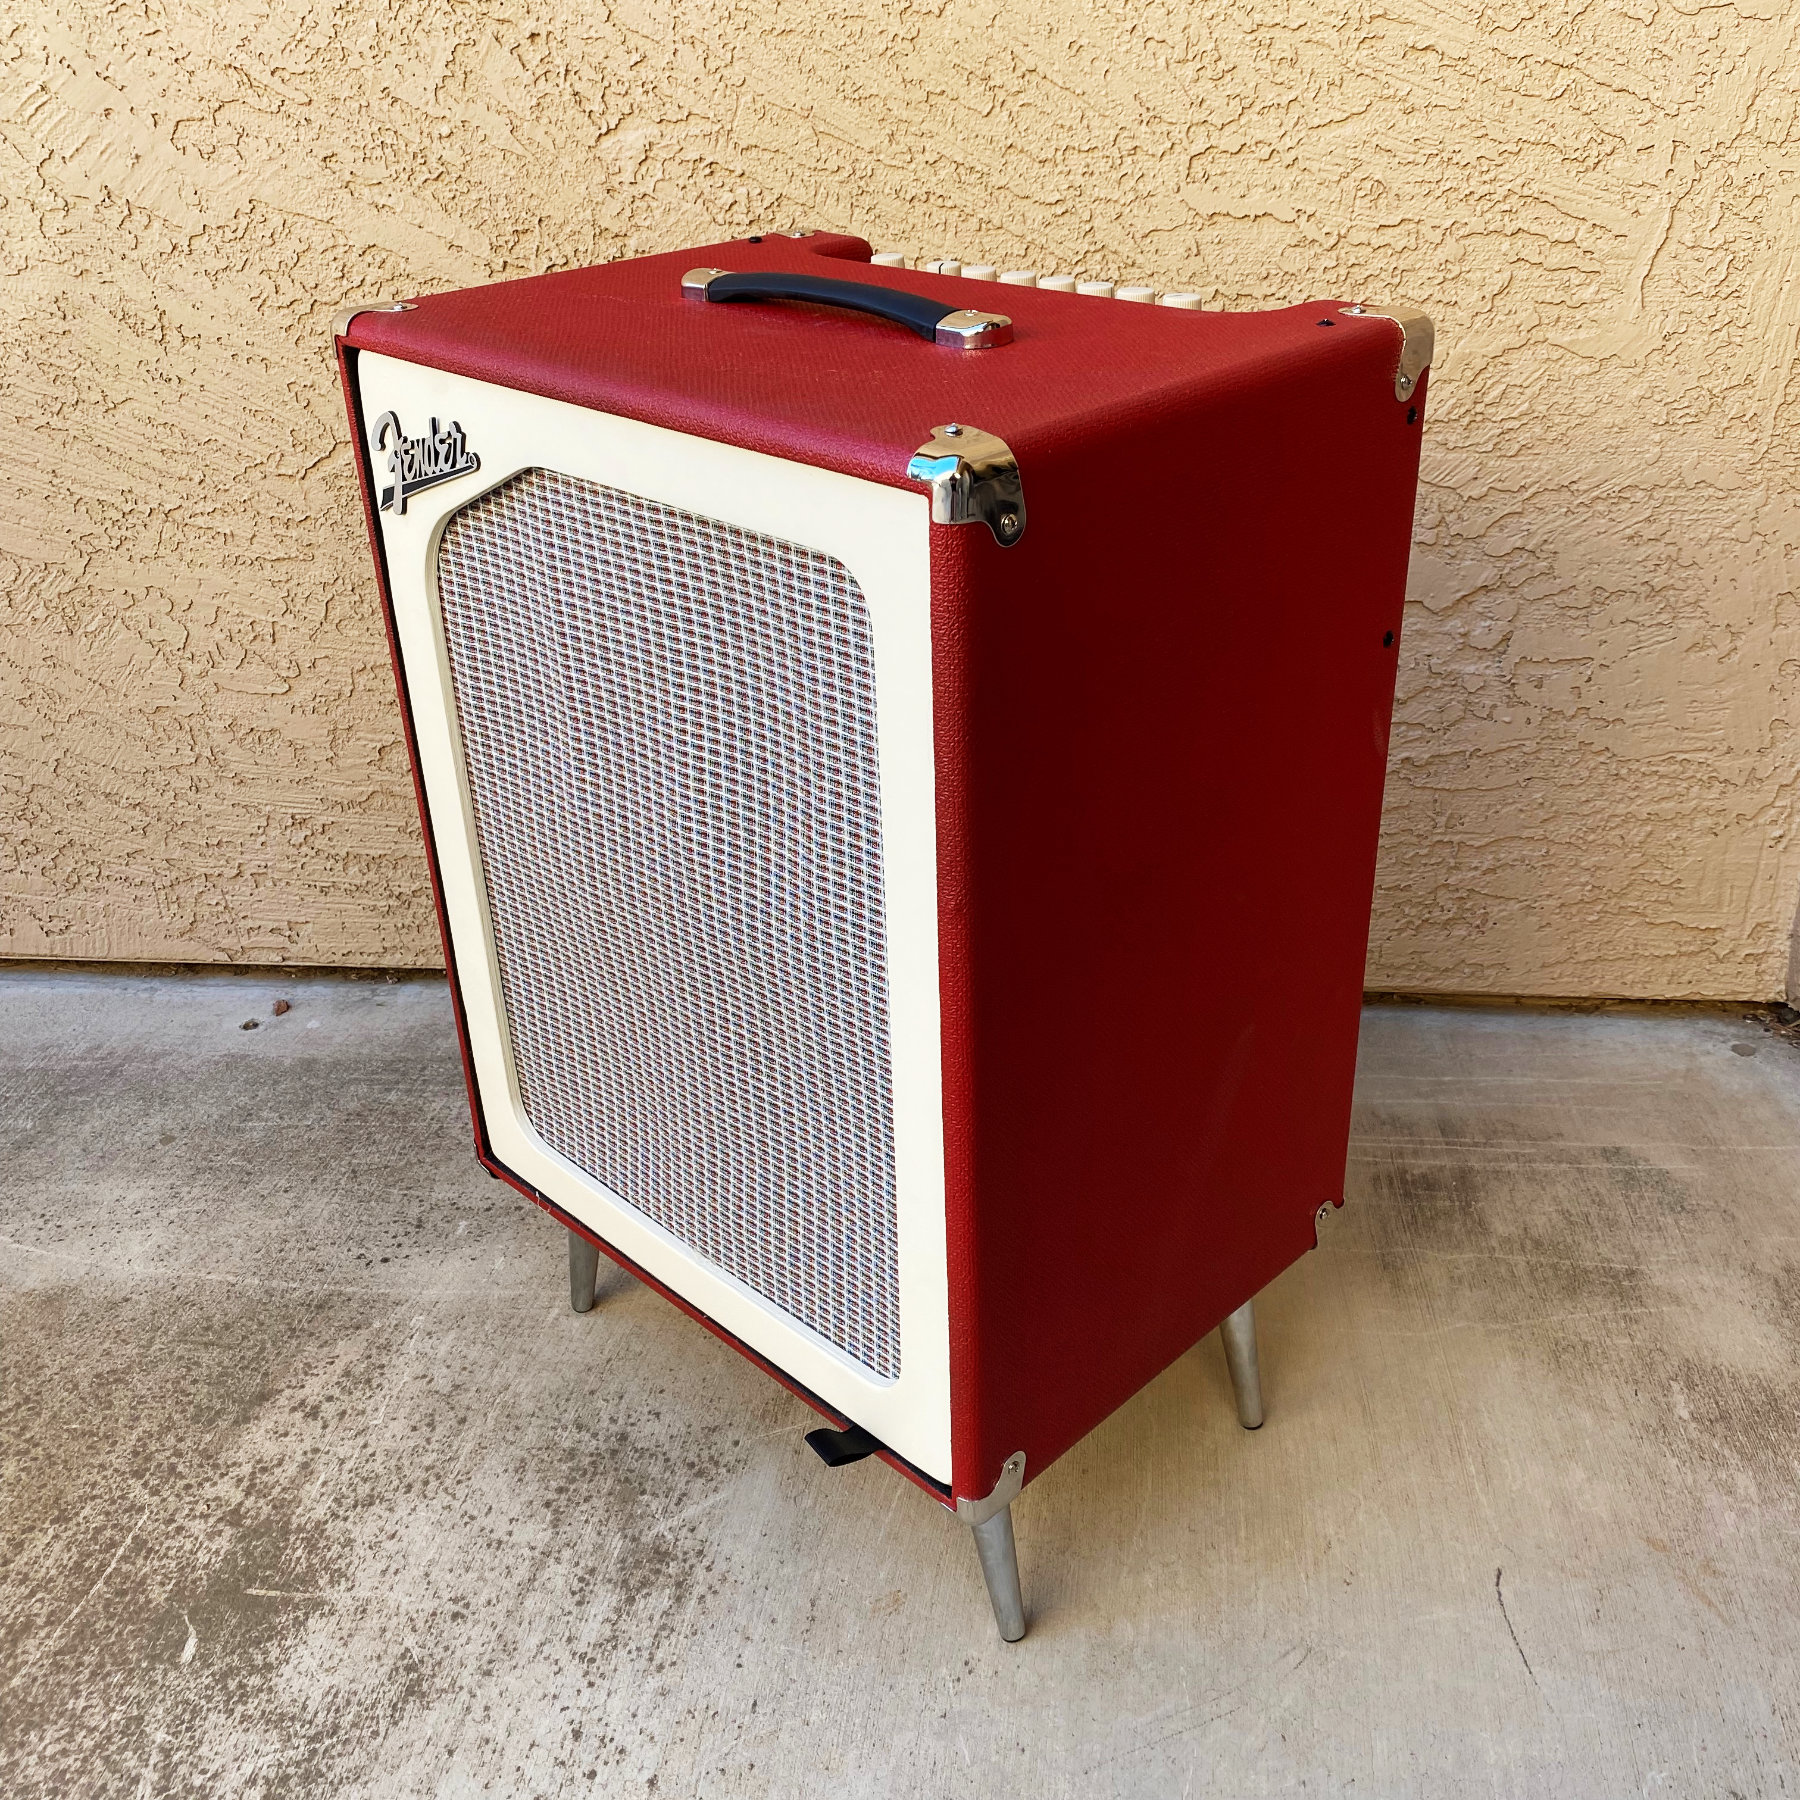
Oh yeah, I added these new legs too, which really add to the retro flair!

The legs each have a 220 pound capacity, which is total overkill for this Fender Rumble 500, which weighs like 36.5 pounds. Here at home, I don’t think that they’ll be at risk, though you’d probably have to baby it on the road. I do like the taller amp, as the knobs are much easier to reach.
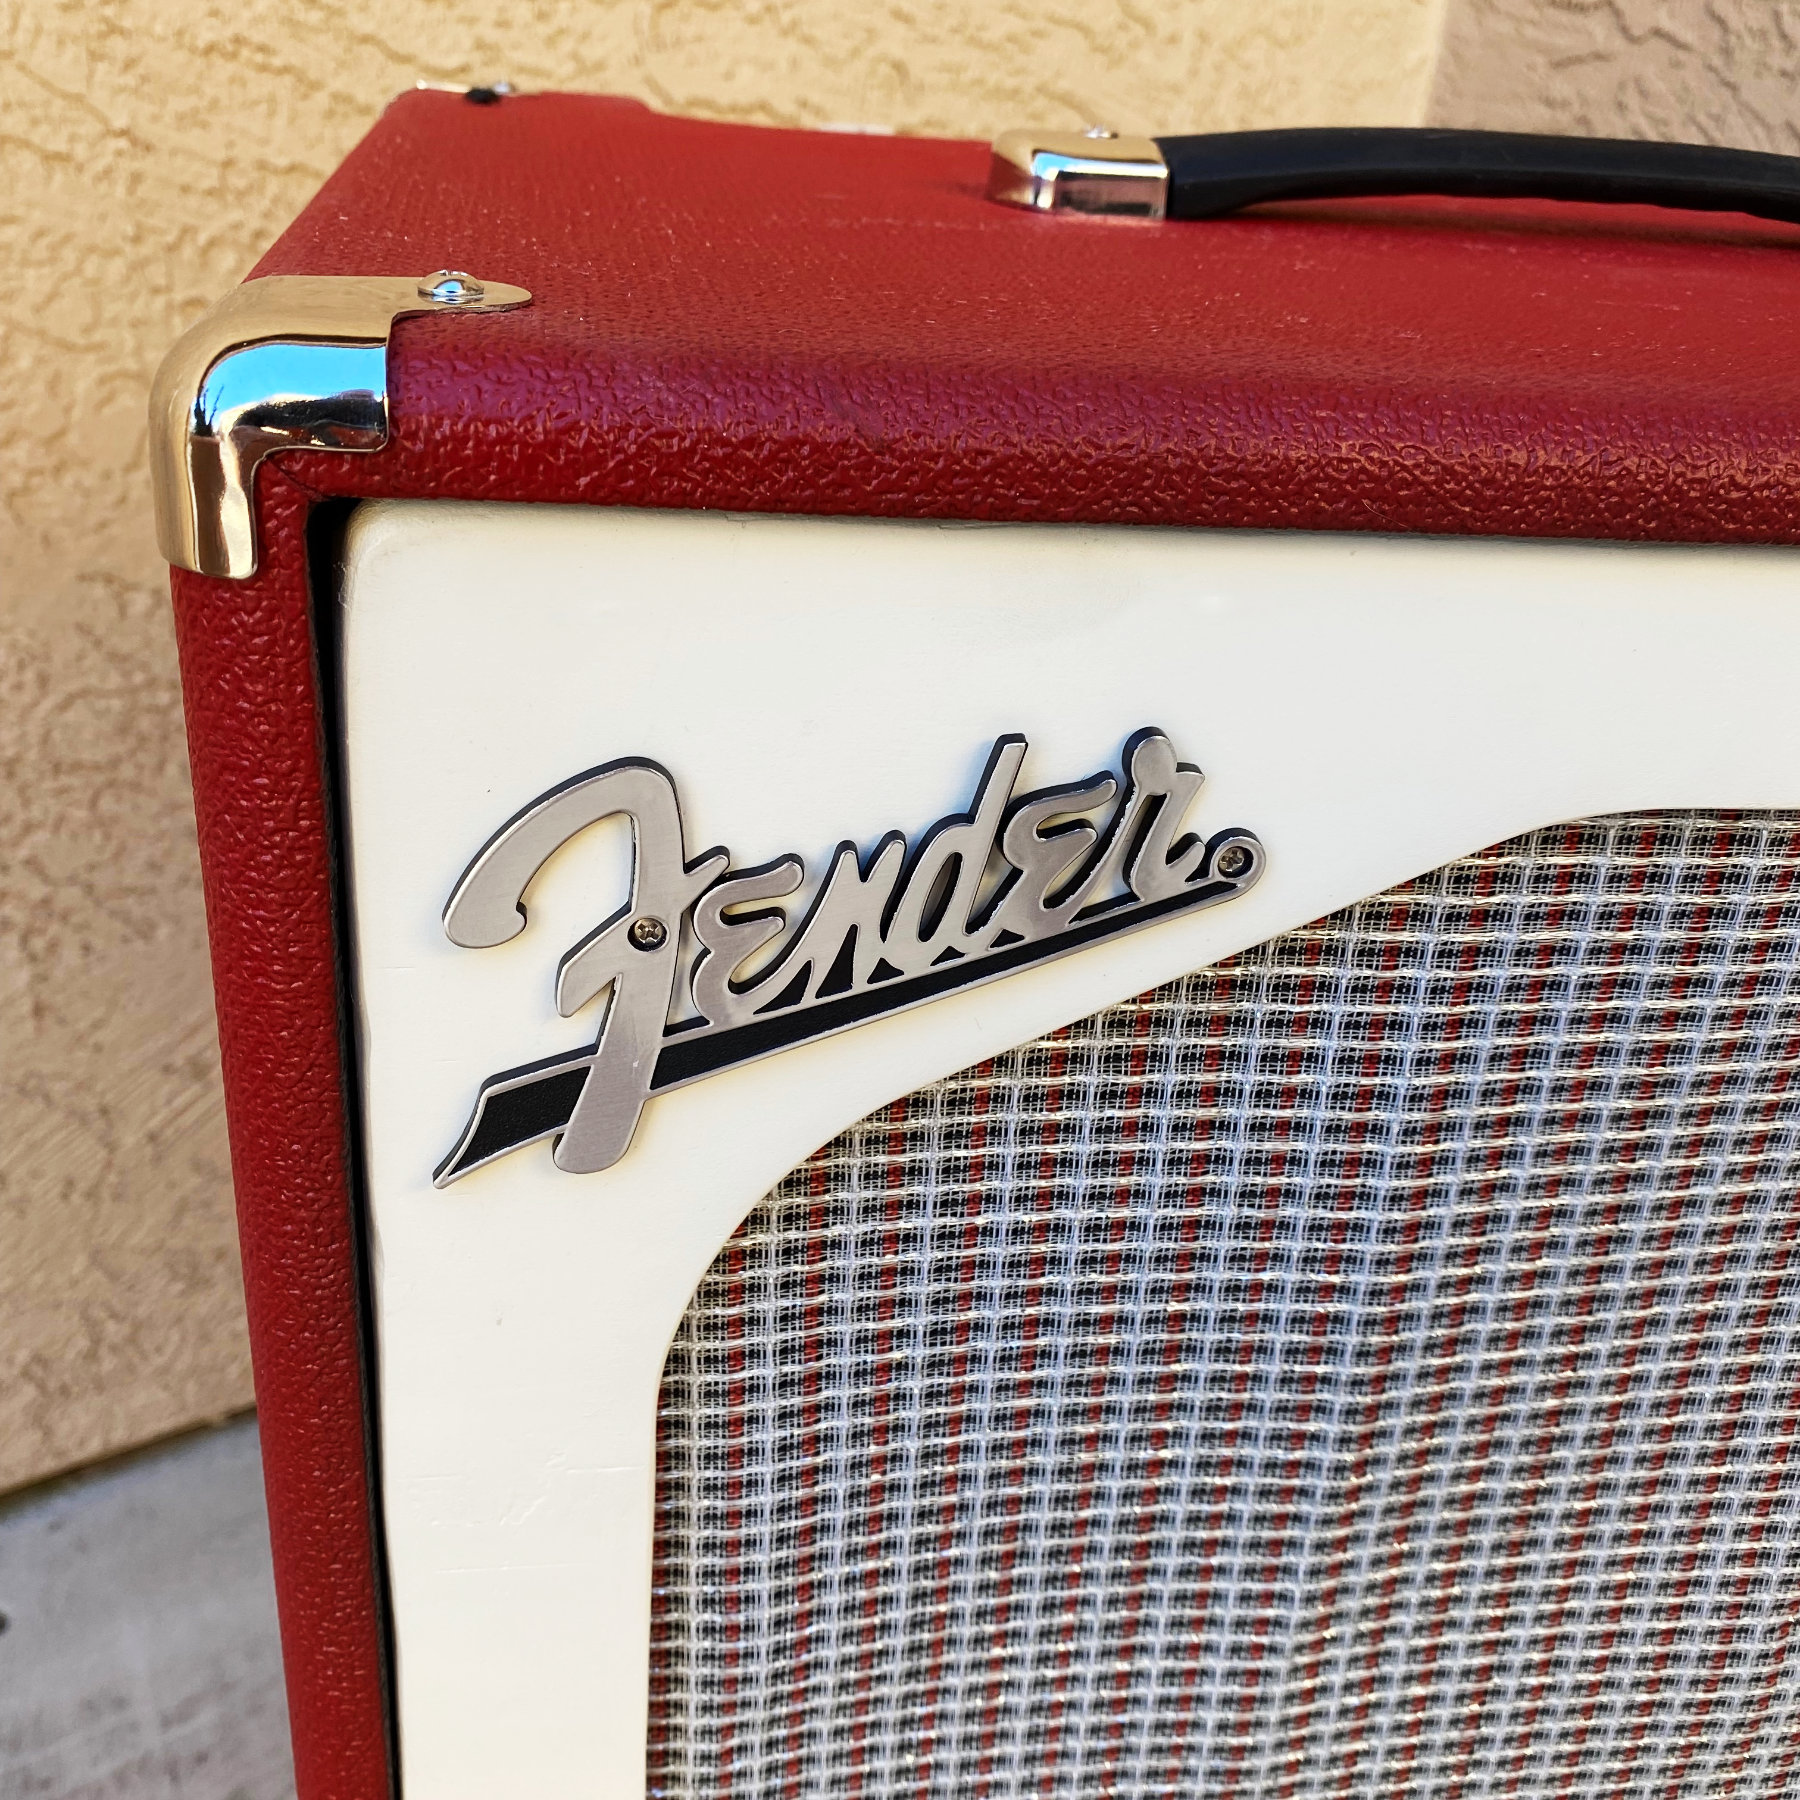
Then I used my Glowforge and cut the front face plate in several pieces, as my Pro model isn’t large enough to do the whole thing in one piece. (I’ve not really tried the passthrough yet.) I glued it all together with wood glue, and caulked the seams where I put it all together. I painted it with an antique white spray paint I had laying around, which matched the knobs fairly well.
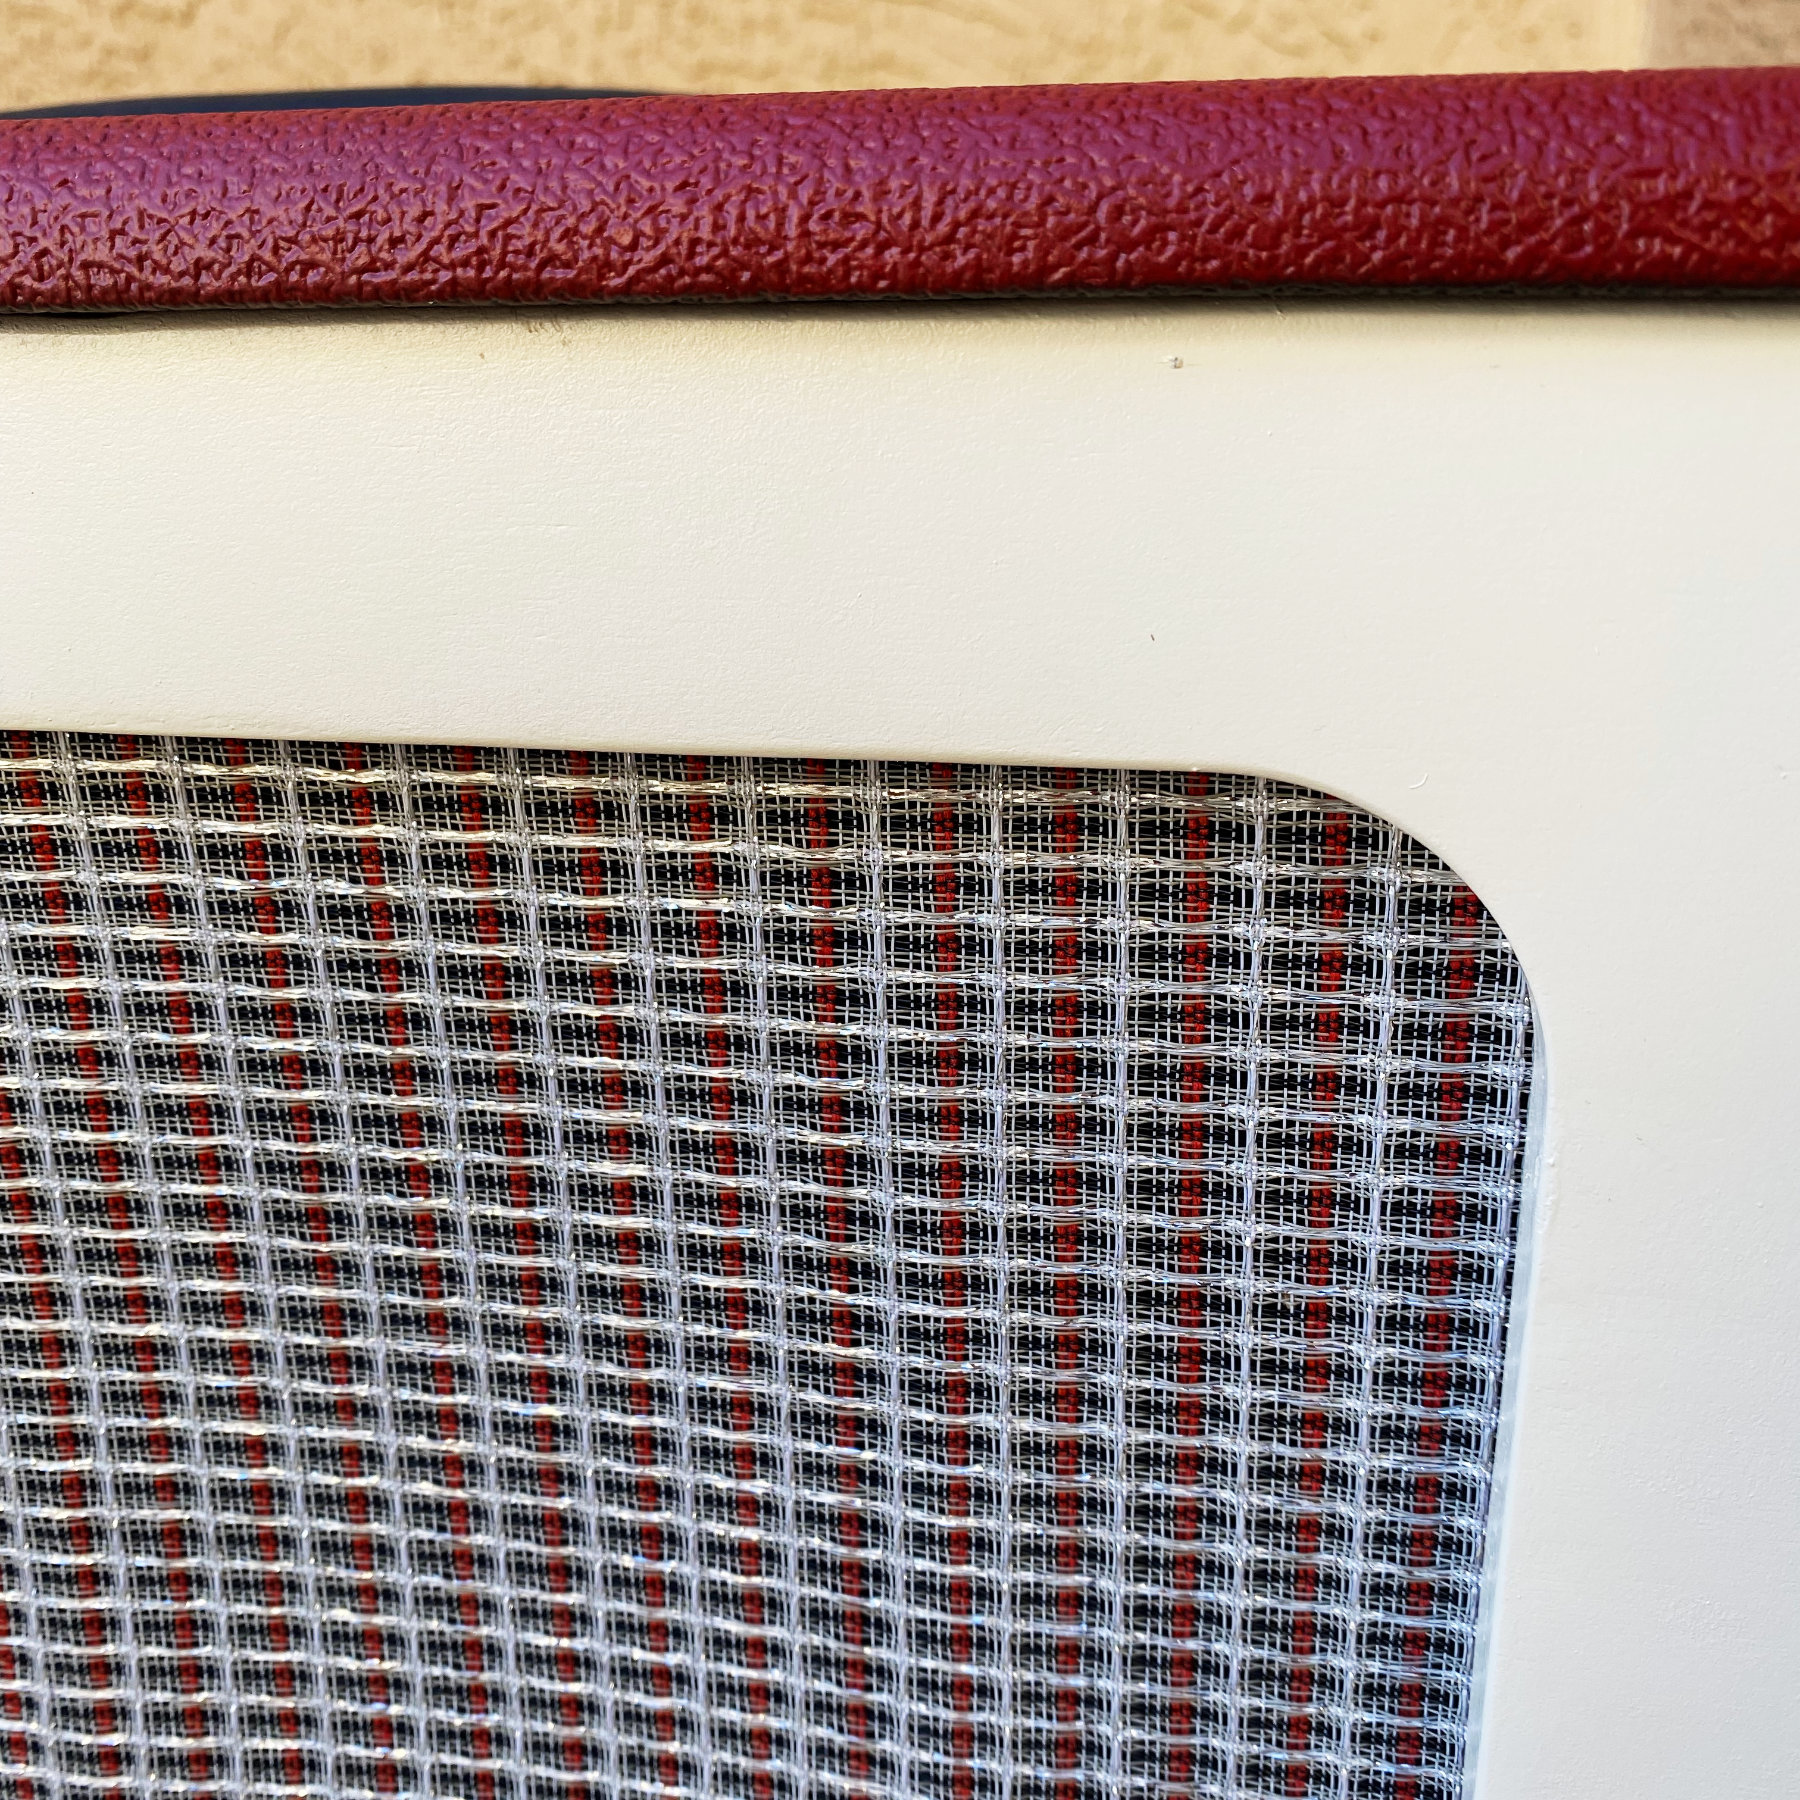
I ordered some retro “Fender Red” Grill Cloth from Mojotone, and applied it to the back of the grill plate frame. I then added some spacers so that they didn’t sit against the speakers at all. Then I screwed on the Fender emblem, and she was complete!
I should mention that I’m a home bassist, I haven’t gigged in over 20 years; it would probably be a bad idea to the the RED SKELETON on tour or anything like that, as the paint would surely get scuffed off, and the legs would eventually break off. But whatever. If I ever do gig again, I’ll just baby the thing.
Overall, I’m pretty happy with the results. It only took me a few days, and while it’s not perfect… I think that it has the retro “Howdy Doody” vibe I was going for. Thanks for looking!